
Your Stratux’s GPS Lock Problem Has a $20 Fix
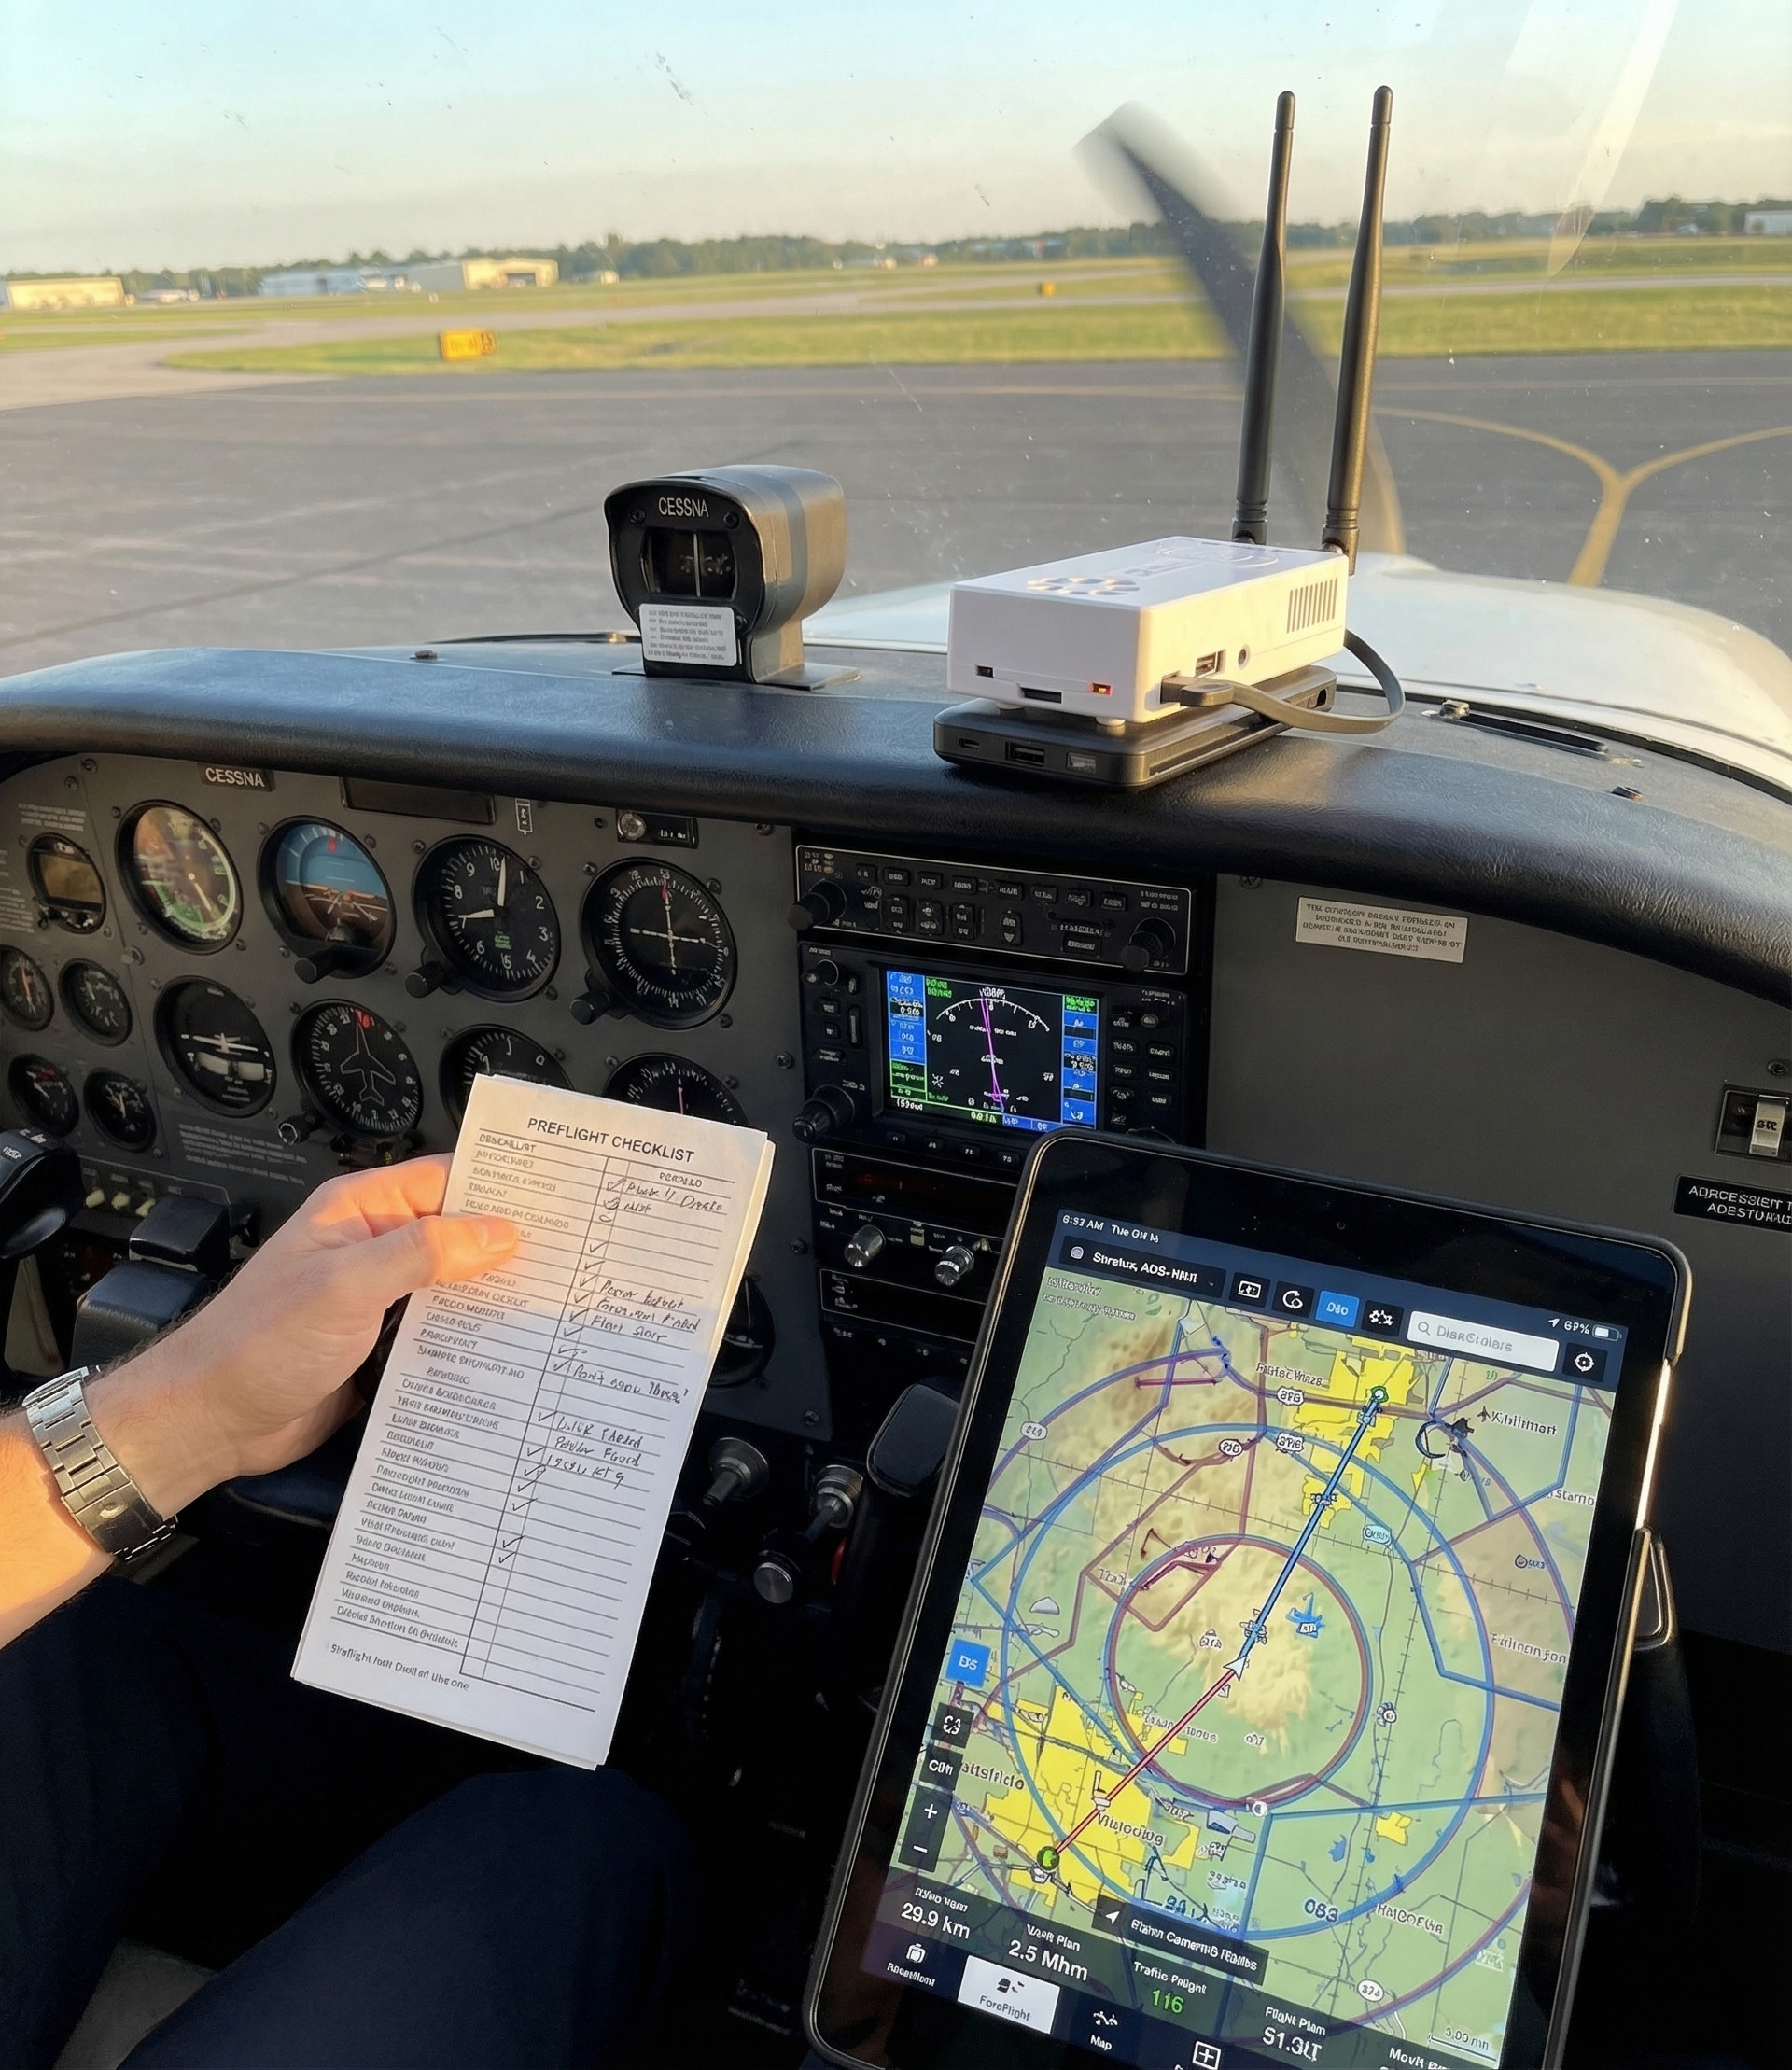
If you’ve ever sat on the ramp waiting for your Stratux to find itself — watching the GPS light blink for 90 seconds while you’re trying to brief a departure — you already understand the problem. The internal GPS module works fine once it’s locked. Getting there, especially on a cold start from inside a hangar, takes longer than it should.
The external GPS puck solves this. It’s a $20 upgrade, it plugs into USB, and it locks faster because you put it where it can actually see the sky.
Why External GPS Beats Internal for Cockpit Use
The internal GPS module sits inside the Stratux case. That case is usually in a flight bag, on a shelf in your avionics stack, or mounted somewhere in the cabin where it may or may not have a clear view of the sky. Metal airframes, avionics panels, and even overhead windows reduce the signal the GPS antenna can see.
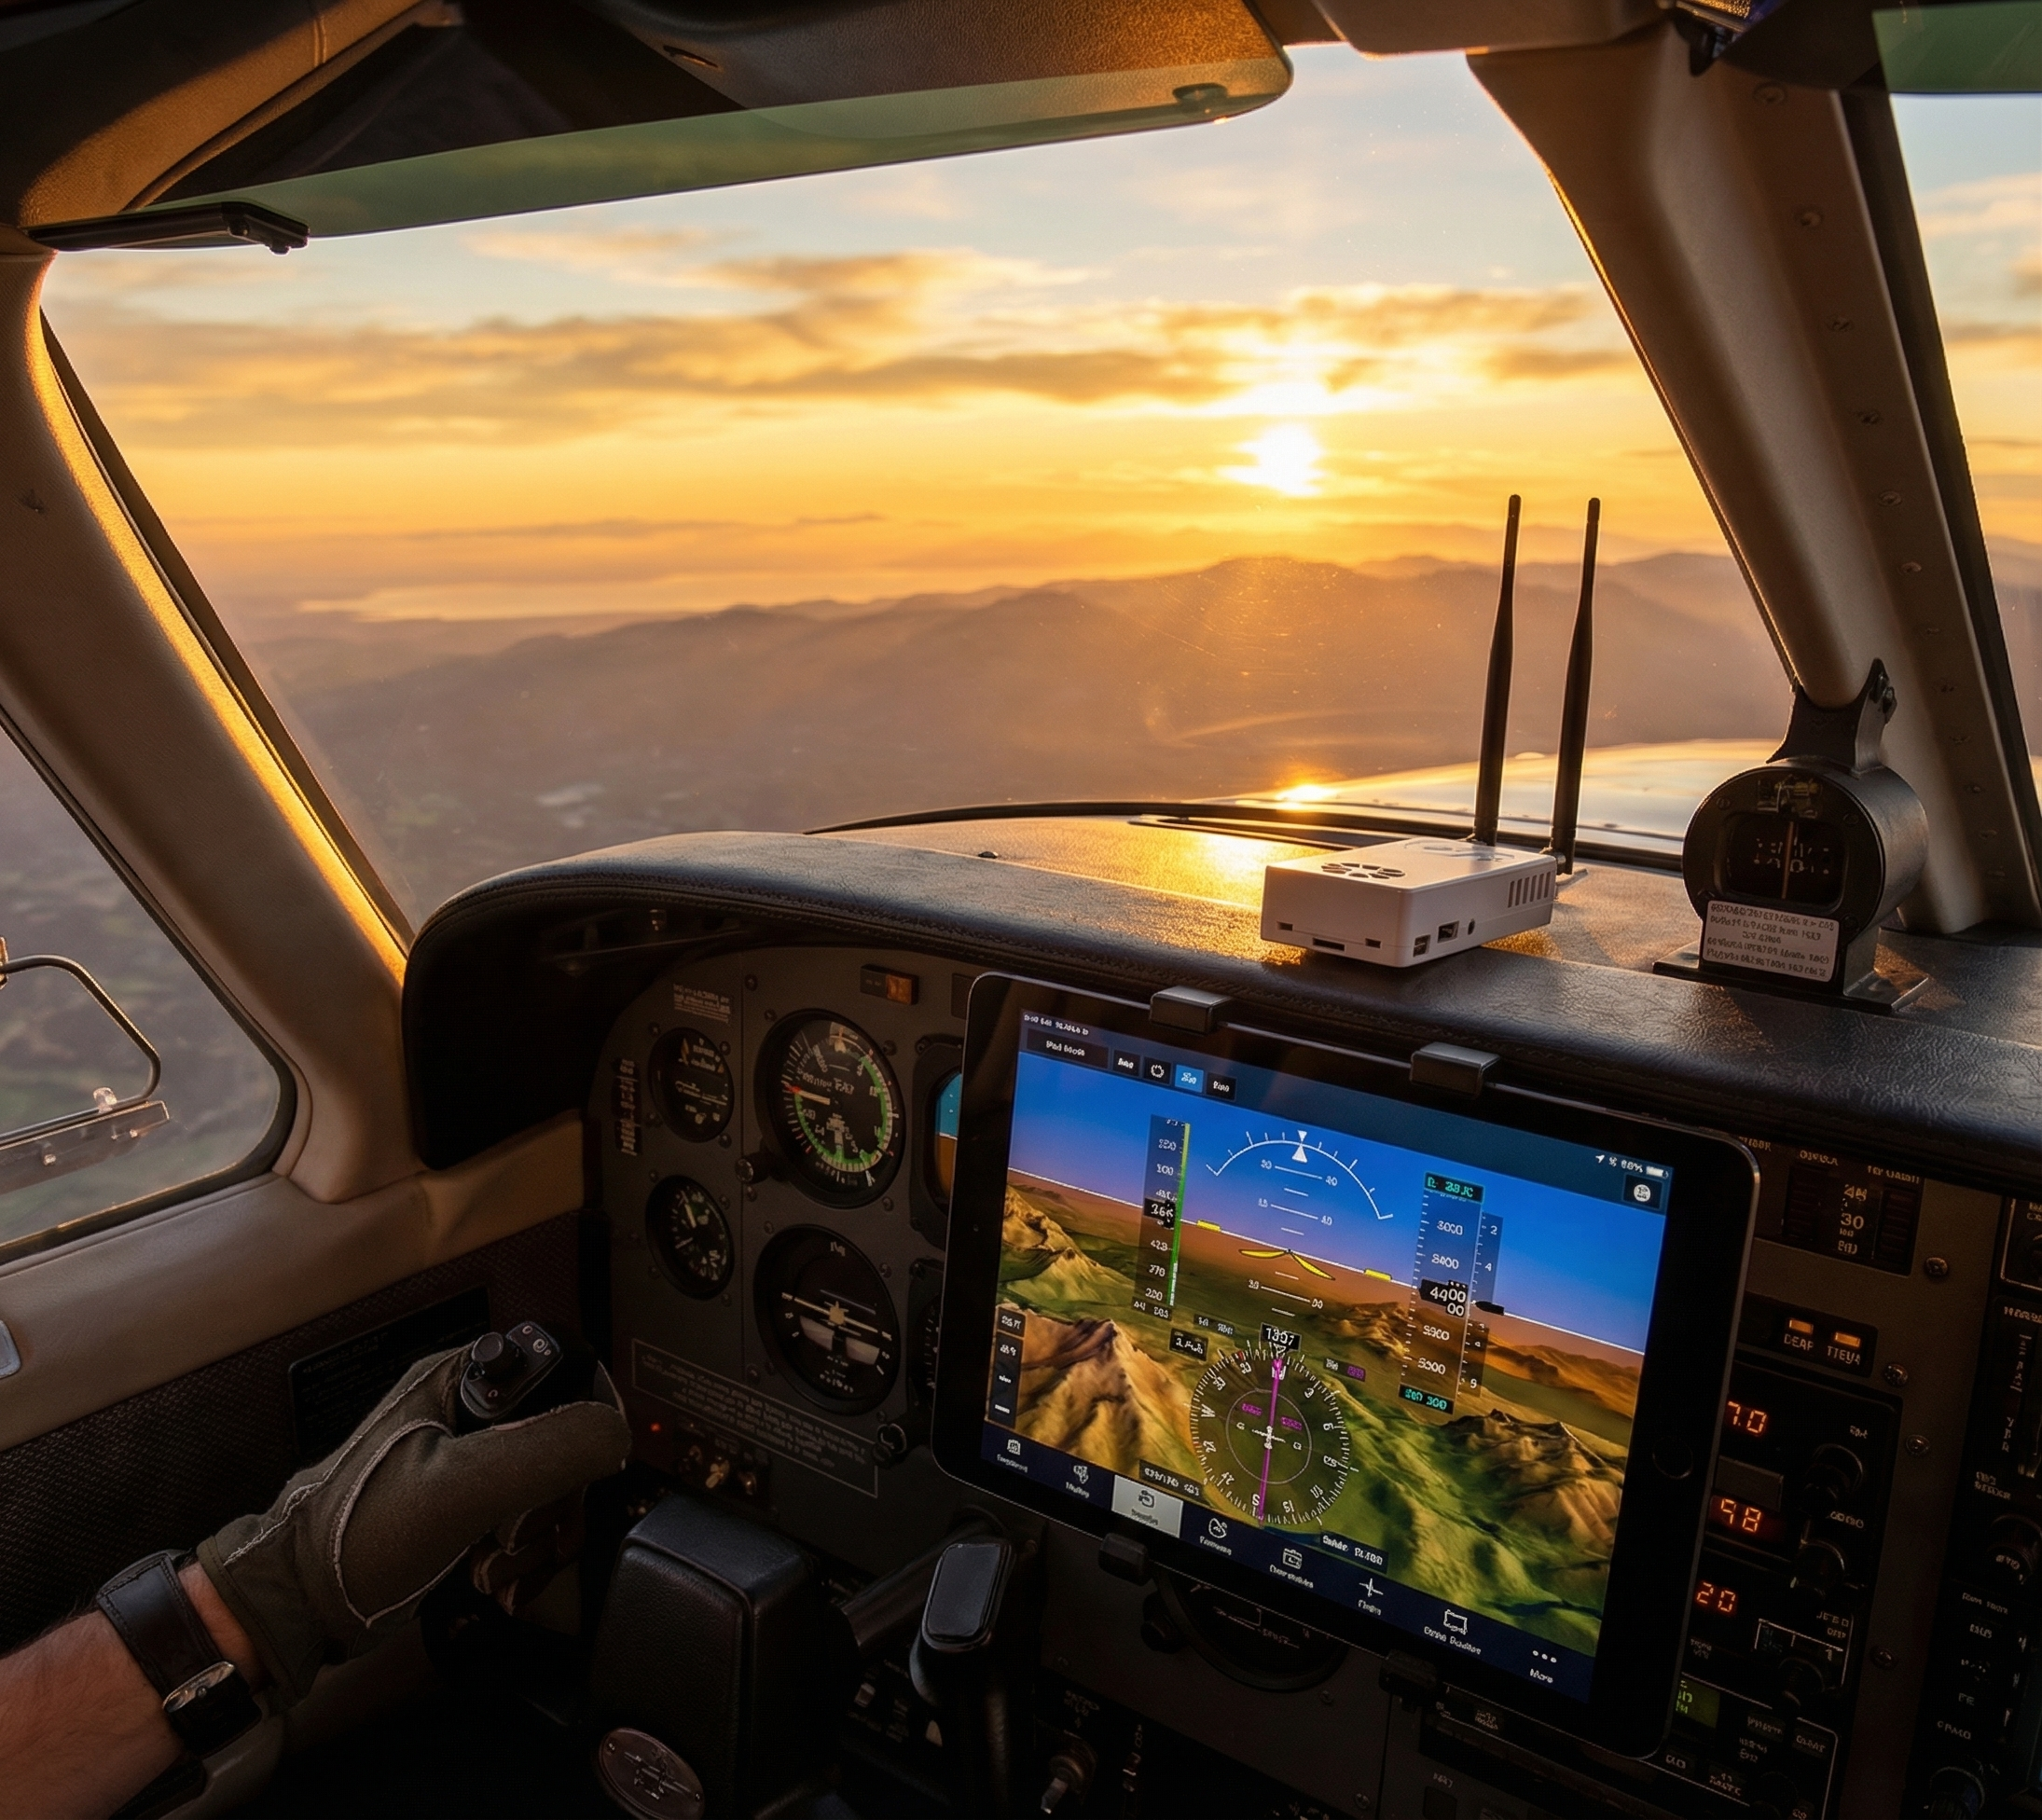
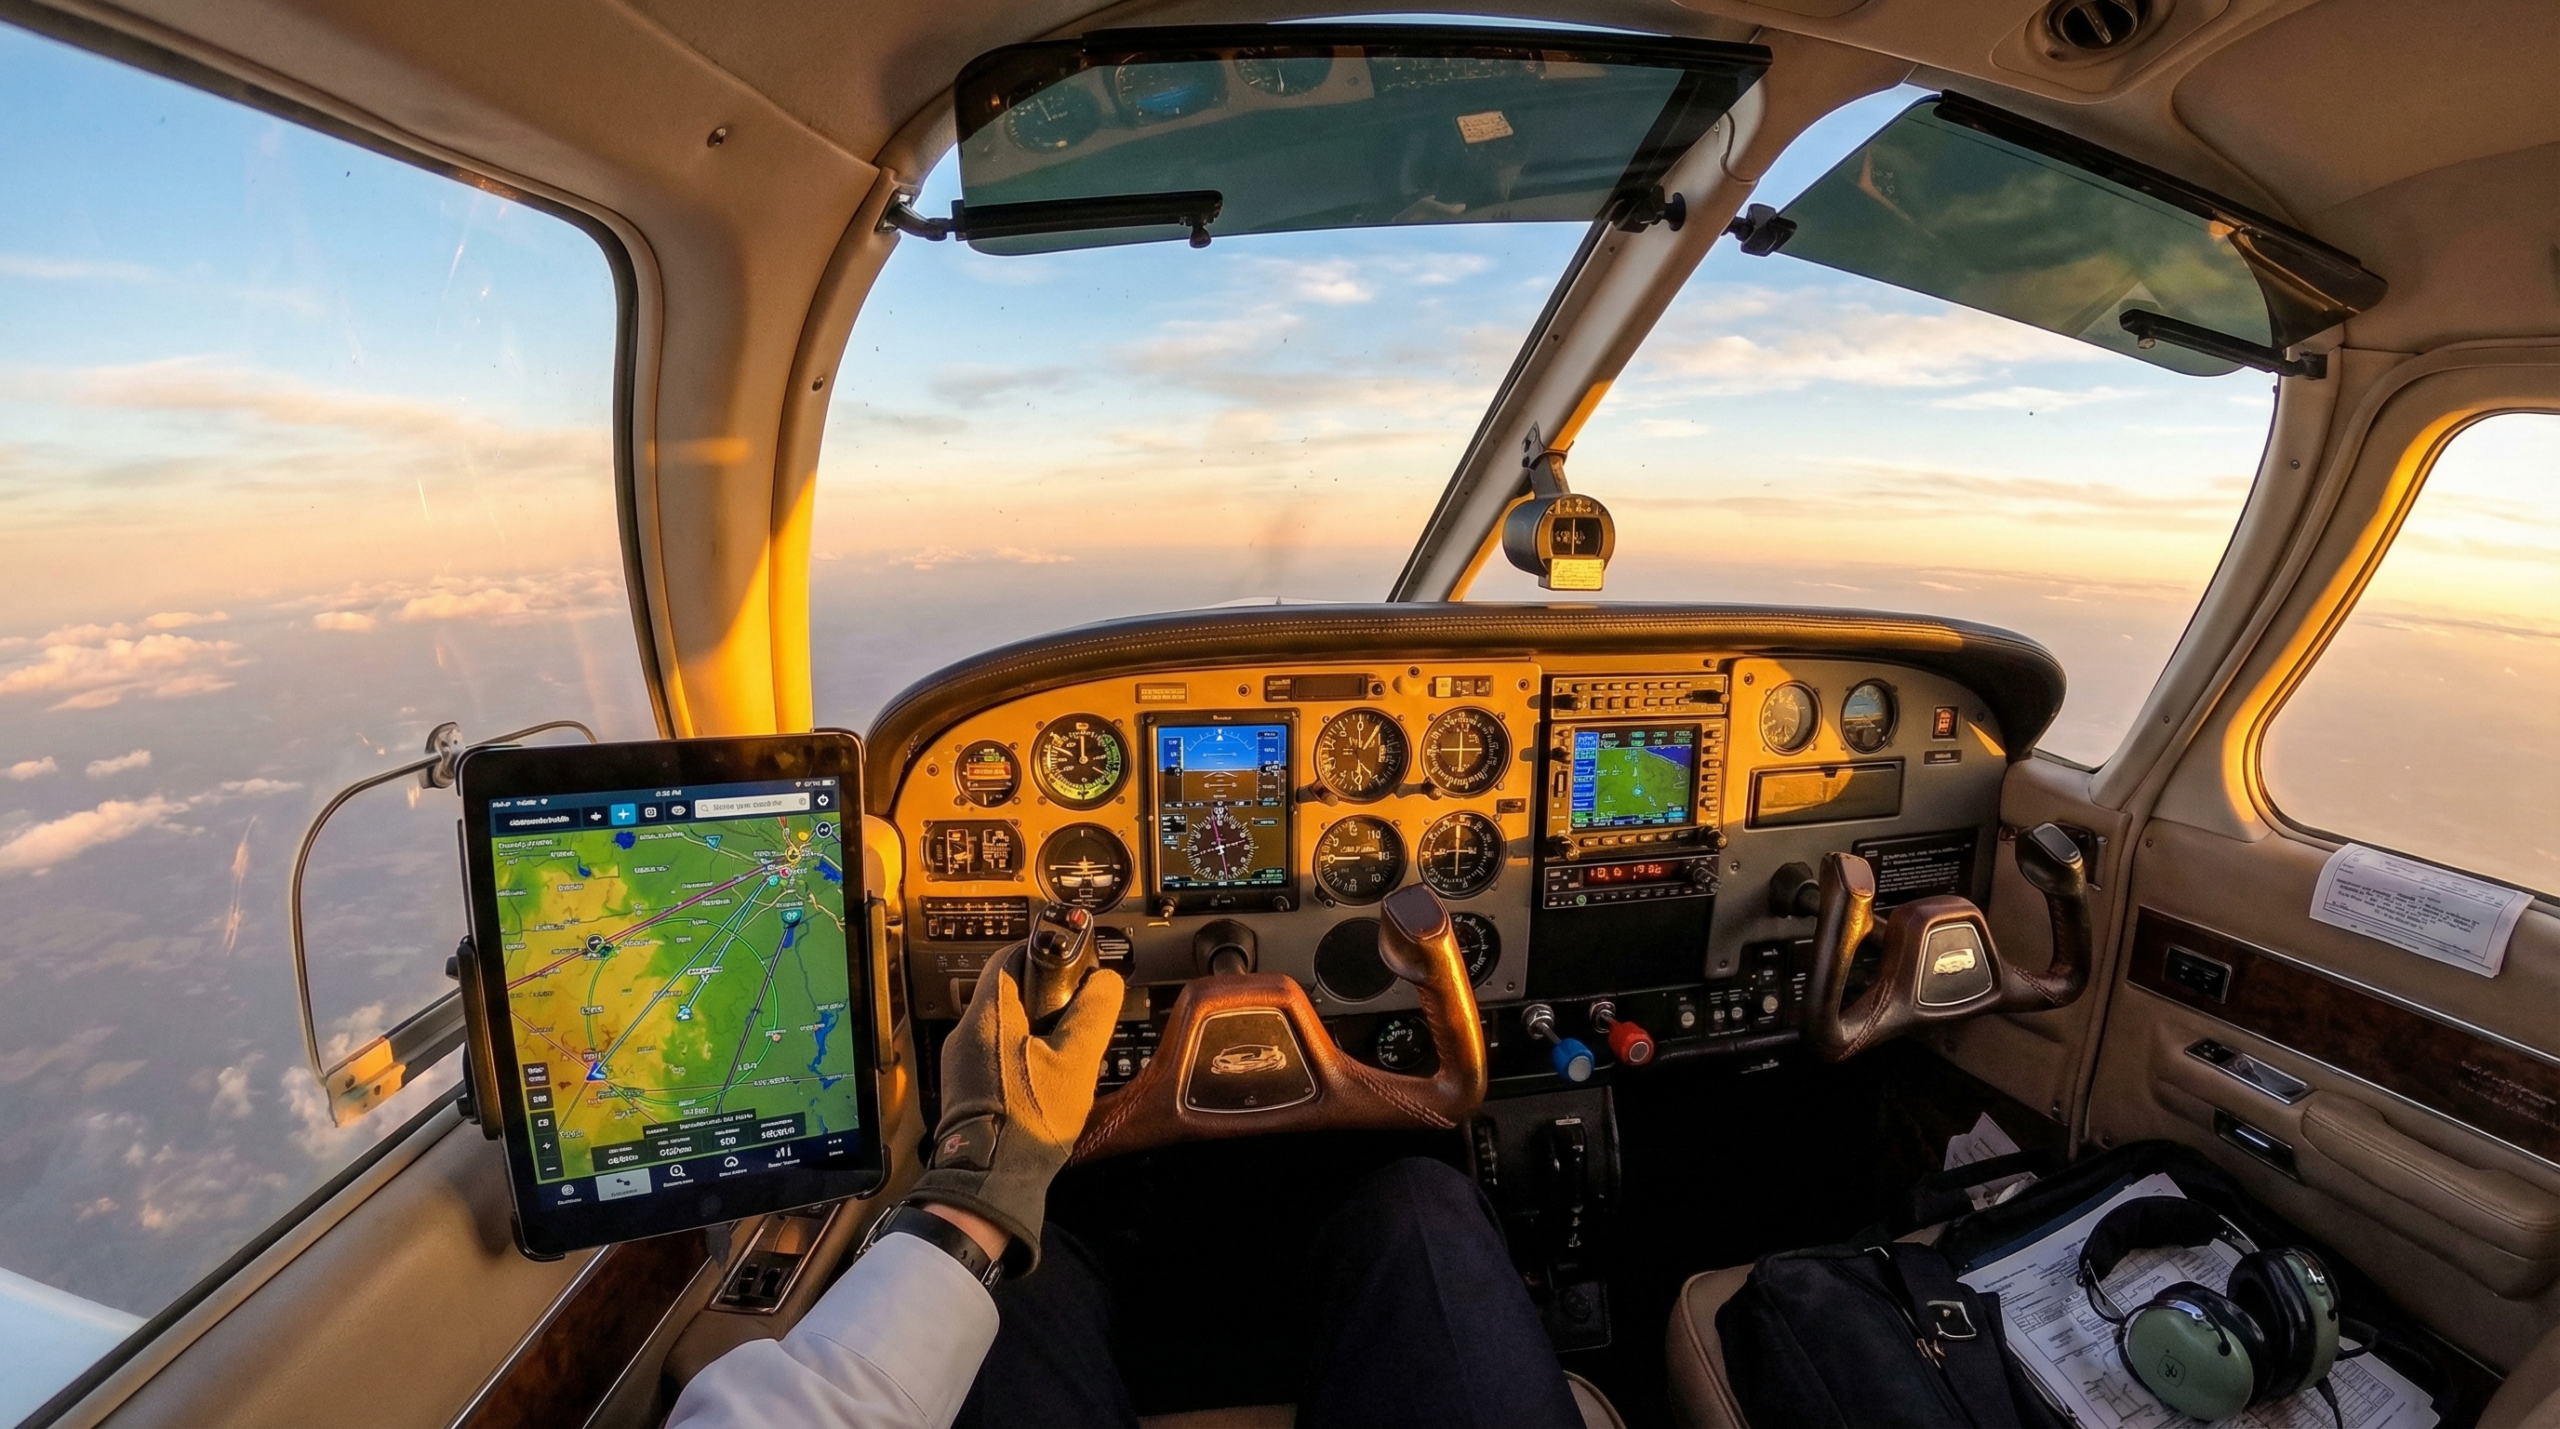
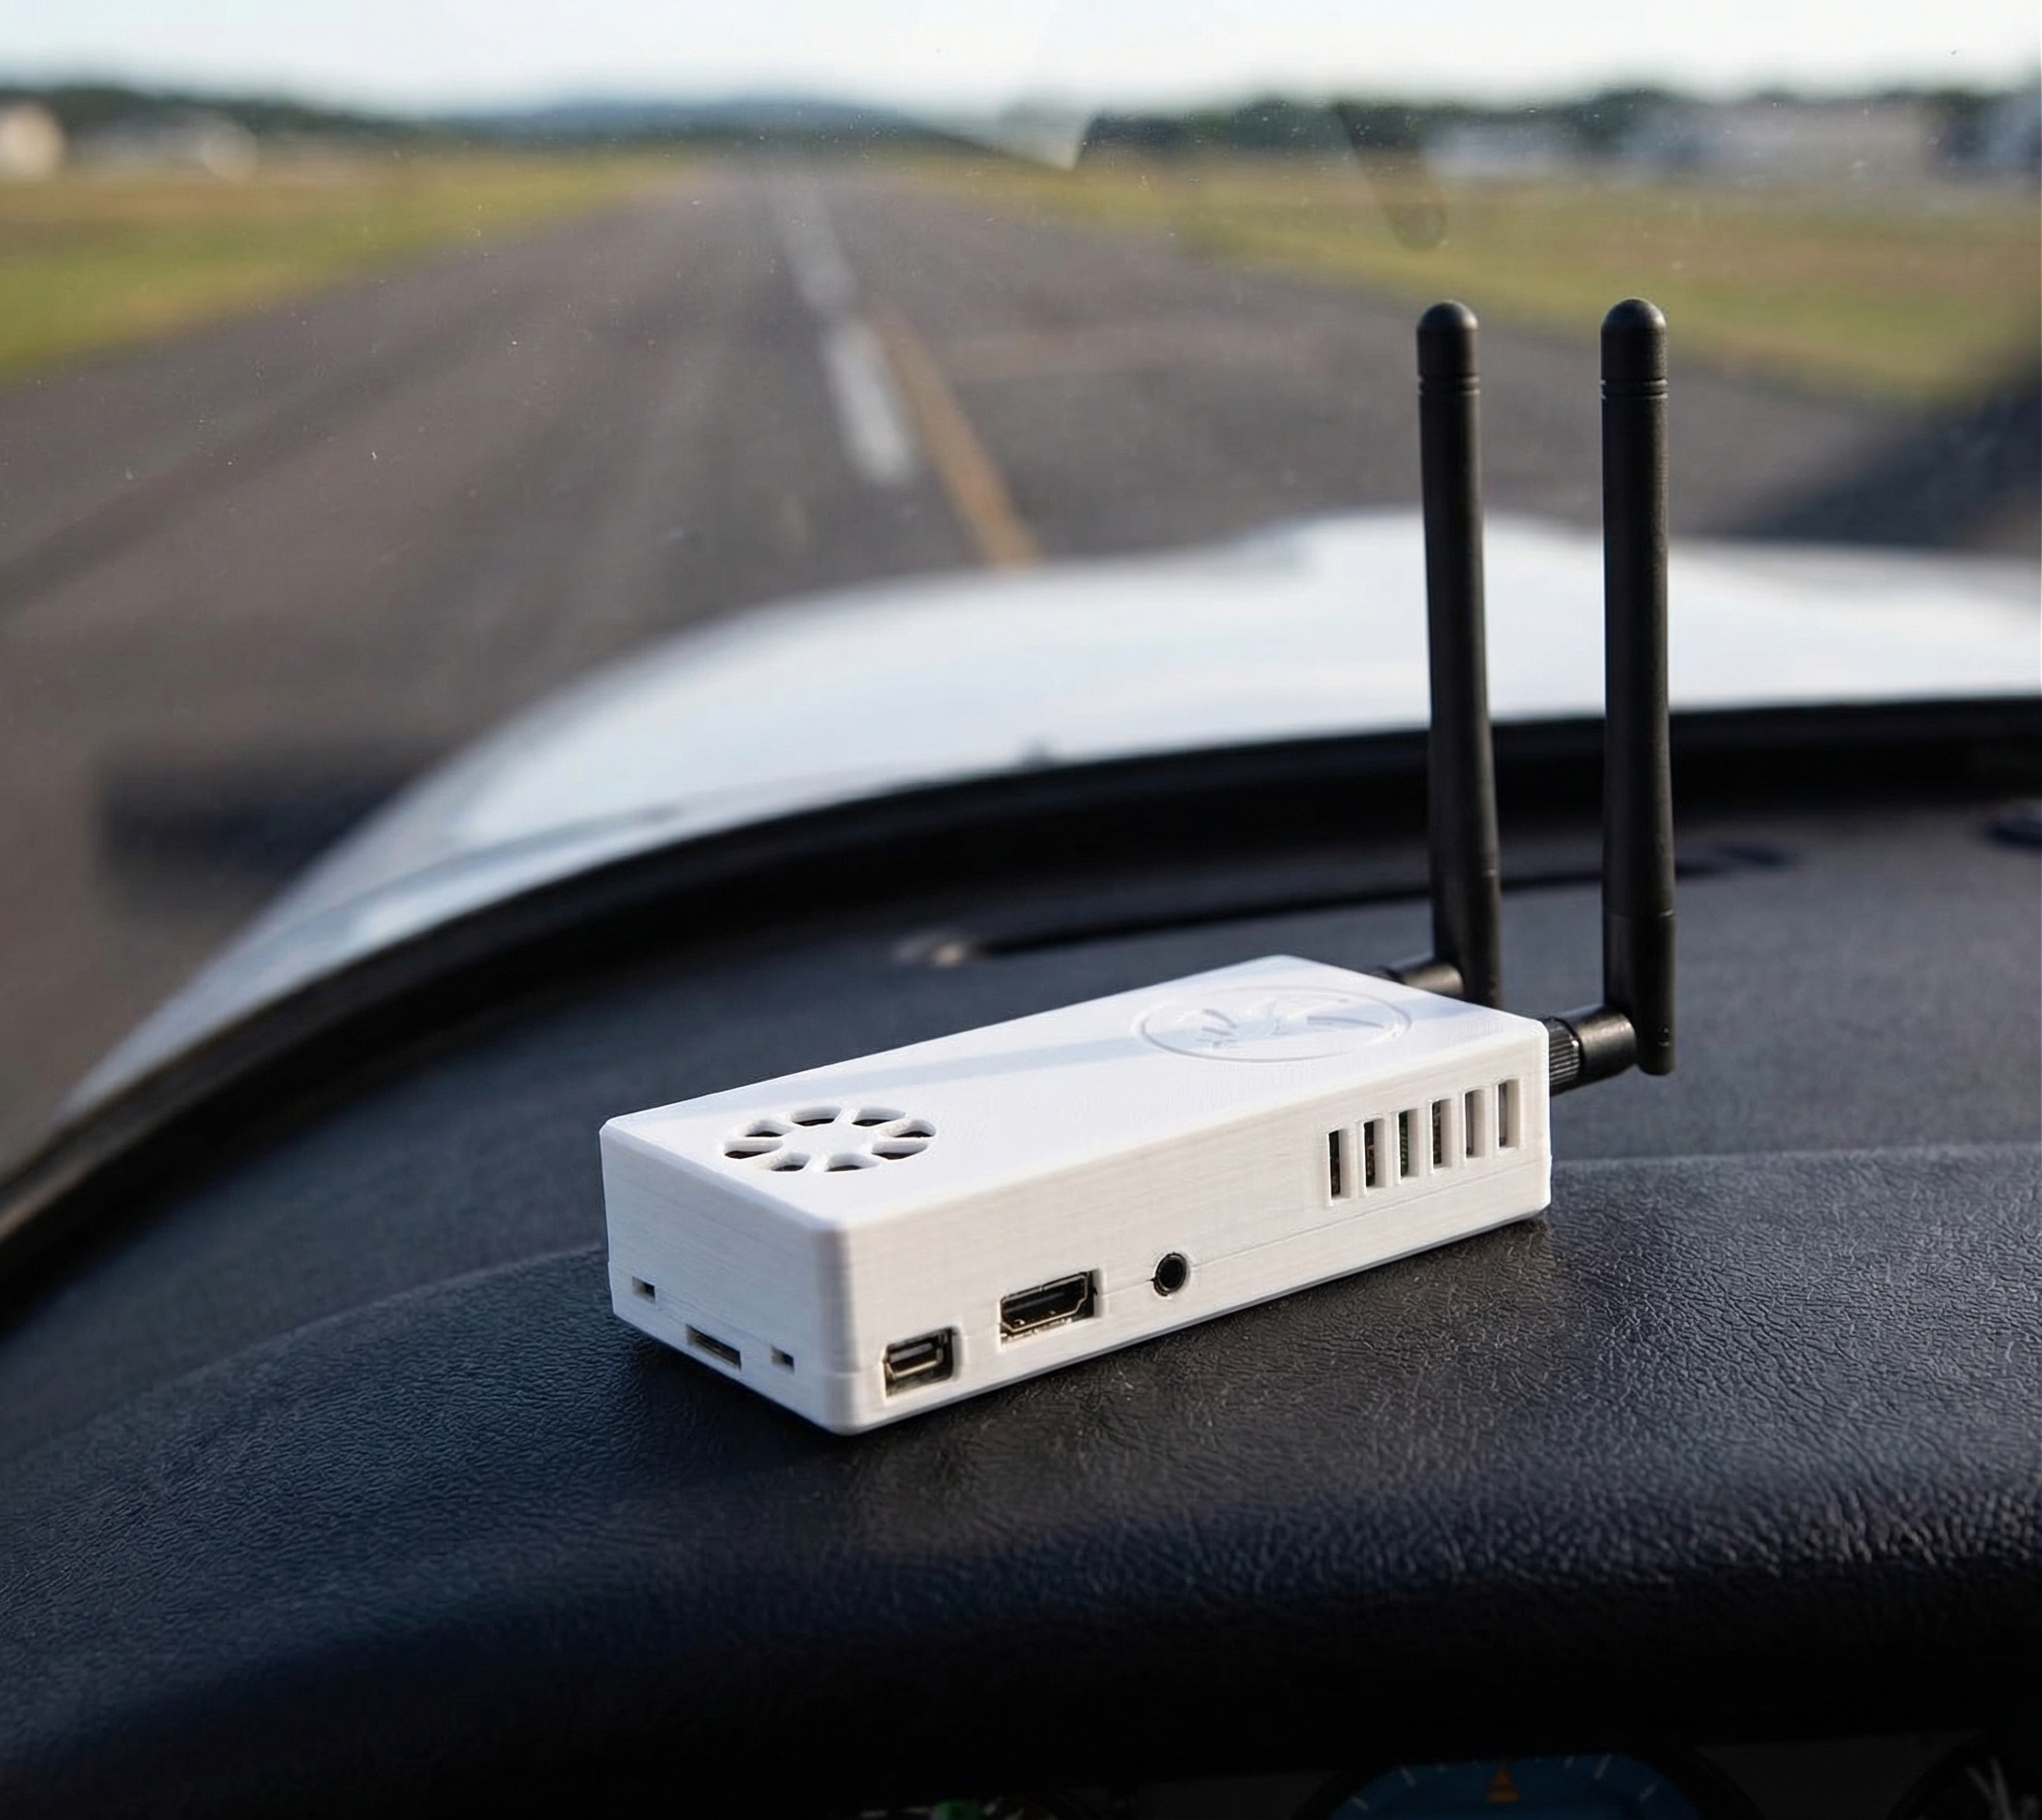
The external GPS puck lives on your dashboard, glareshield, or wherever you can give it a direct view of the sky. That’s not a subtle difference — GPS reception is almost entirely about antenna placement and sky view. A GPS sitting on a metal dash with a clear view of the overhead is always going to outperform the same GPS module buried in a box on a shelf.
There’s also a flexibility argument. With an external GPS, you can mount your Stratux unit wherever it works for the radios — and put the GPS antenna where it works for GPS. Those two optimal locations are often not the same place.
Cold Start vs. Hot Start: The Numbers That Matter
GPS receivers have two modes: cold start (no cached data, building almanac from scratch) and hot start (cached almanac, knows approximately where to look). The difference in lock time is significant:
Internal GPS in a closed case, inside a hangar
Cold start lock time: 60–90 seconds, sometimes longer. The module is hunting for satellites through whatever attenuation the case and your aircraft’s structure introduce. It gets there, but you’re waiting.
External GPS puck on the dash with clear sky view
Cold start lock time: 15–30 seconds. Same satellites, better antenna placement. The difference is geometry — the puck can hear what the buried module is struggling to find.
Hot starts (after the almanac is cached) are faster either way, but cold starts on the first flight of the day are where the external GPS really earns its $20.
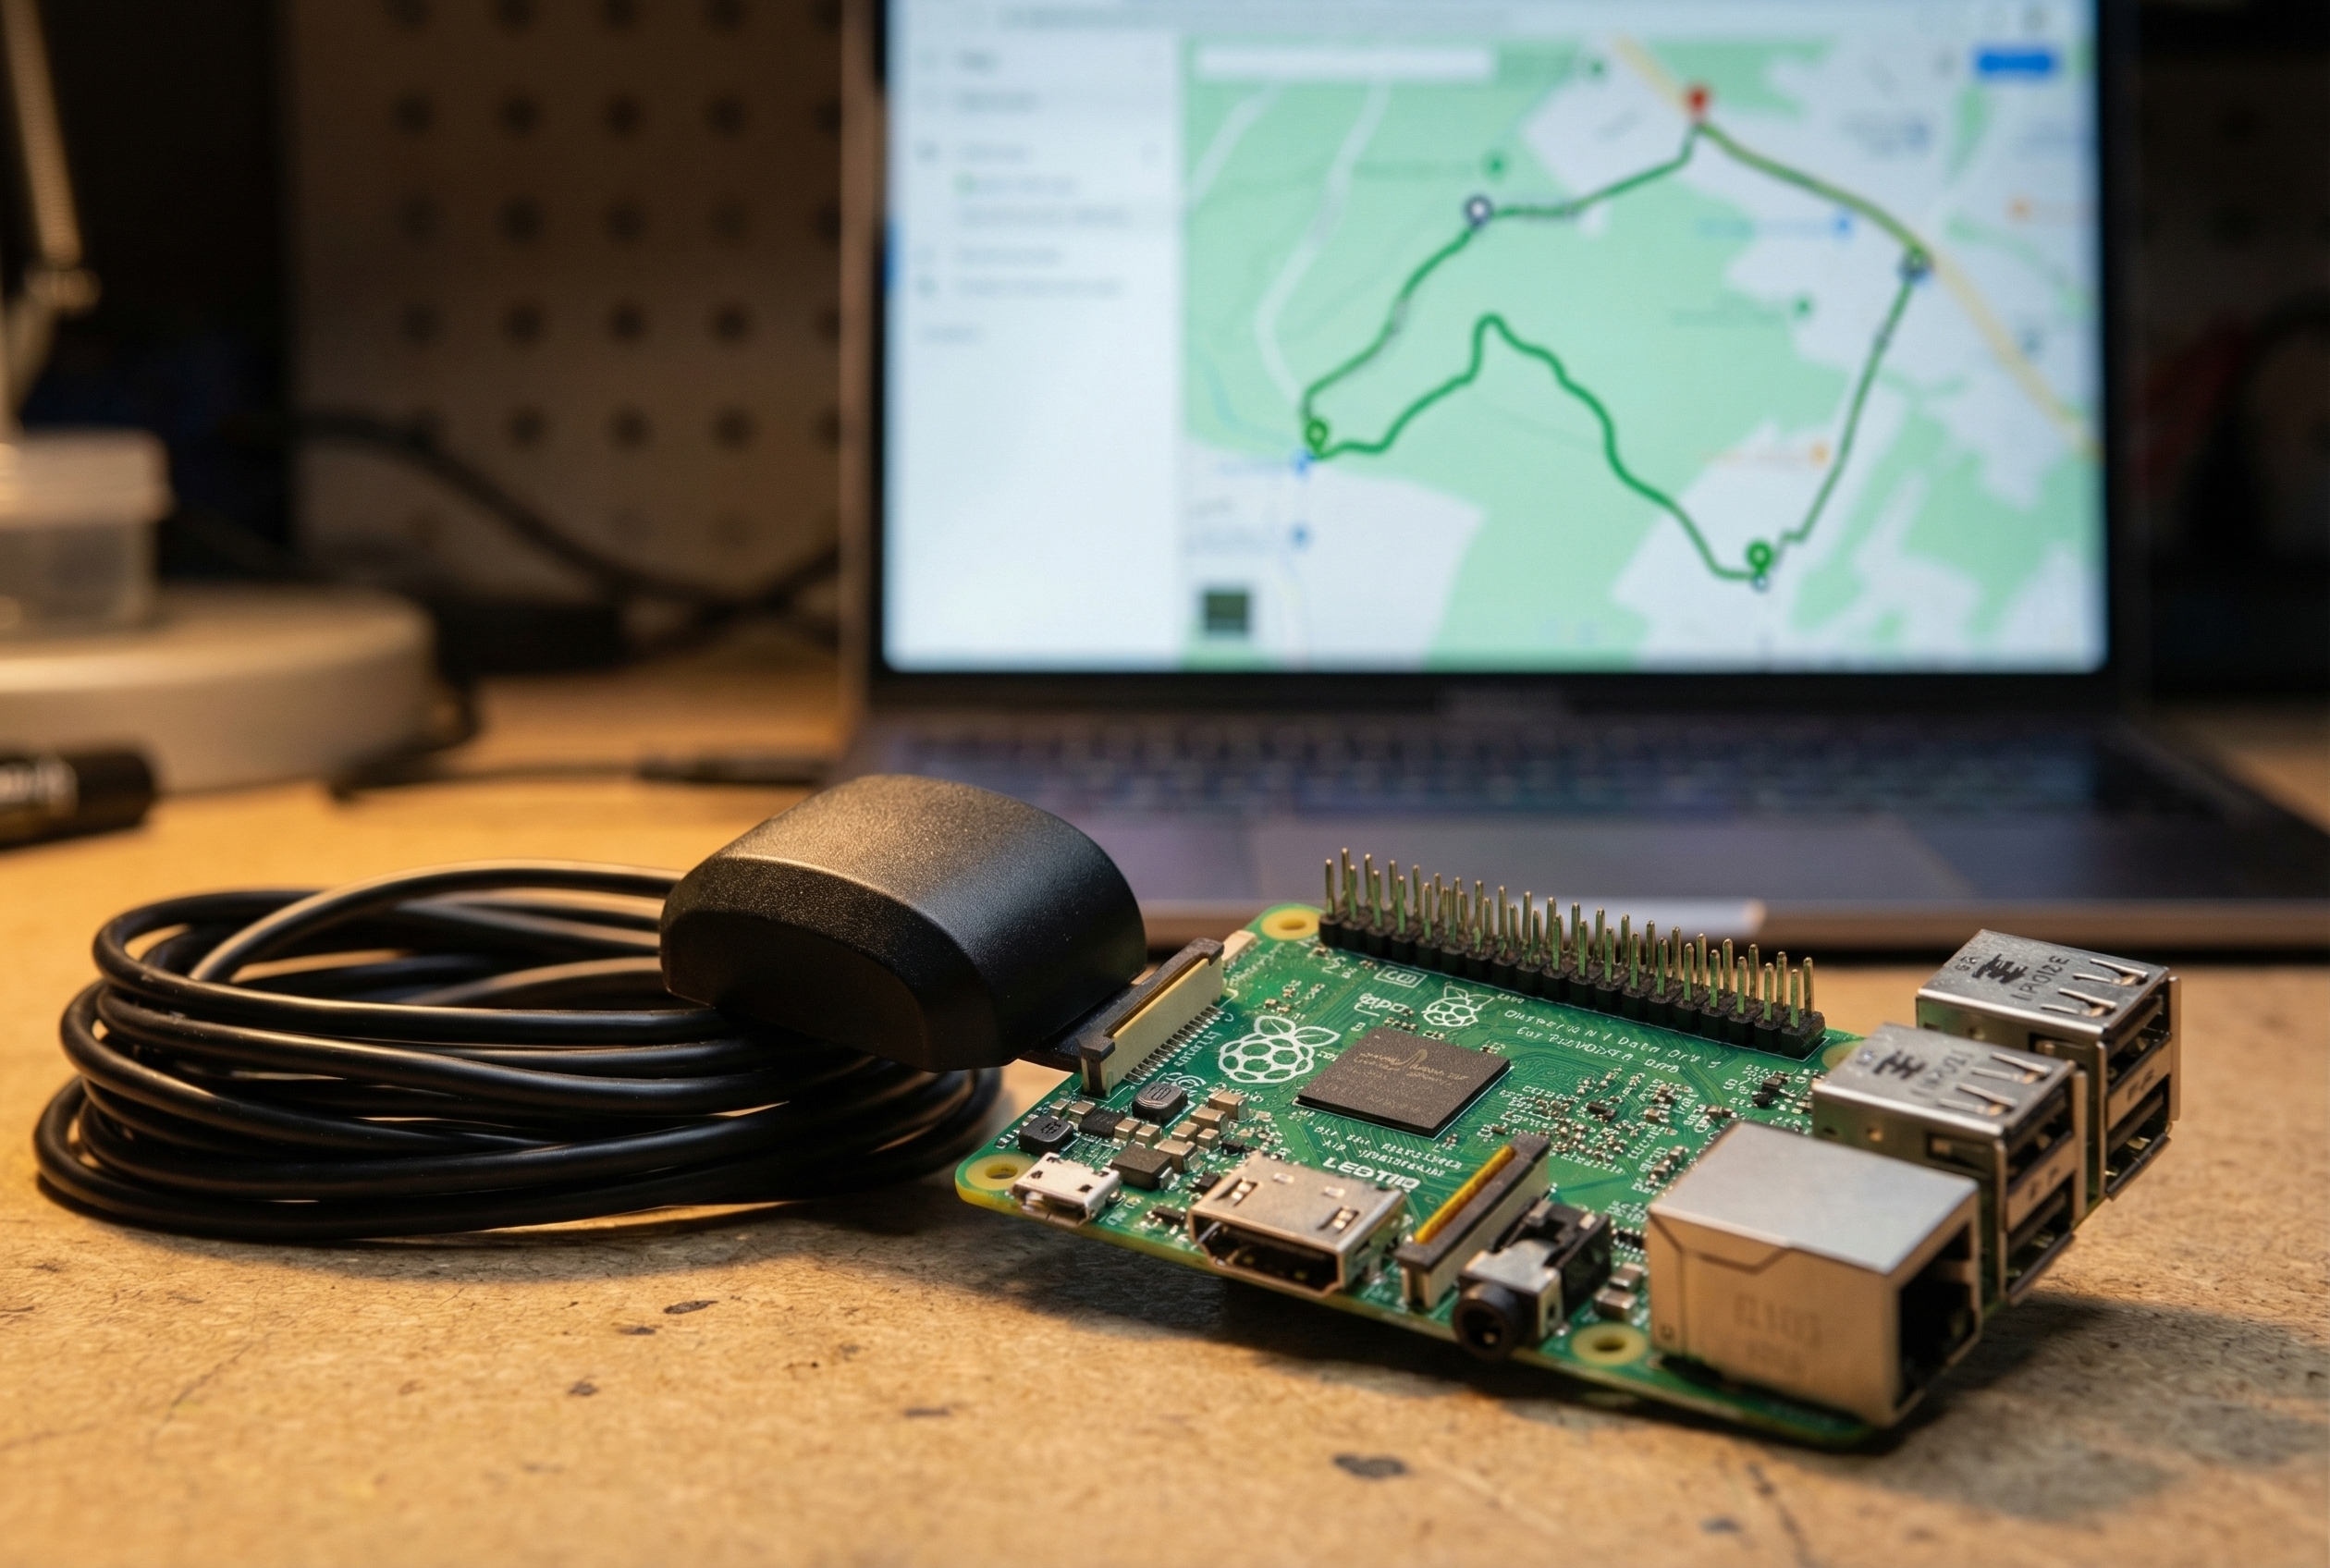
The VK-162: What You’re Actually Getting
The external GPS that Crew Dog ships is the VK-162 puck. It’s a well-regarded component in the Stratux community, and for good reason:
u-blox GPS chip
u-blox is one of the dominant GPS chipmakers in the professional and aviation-adjacent market. The chip in the VK-162 is the same family used in a lot of serious embedded navigation work. It’s not a commodity no-name receiver — it has real sensitivity and reliable NMEA output.
WAAS-enabled
The VK-162 receives SBAS/WAAS corrections from geostationary satellites, which improves position accuracy. This matters if you’re using Stratux for ownship display in ForeFlight® — the position you’re feeding your EFB is more accurate with WAAS corrections enabled. Sub-3-meter accuracy is typical in good conditions.
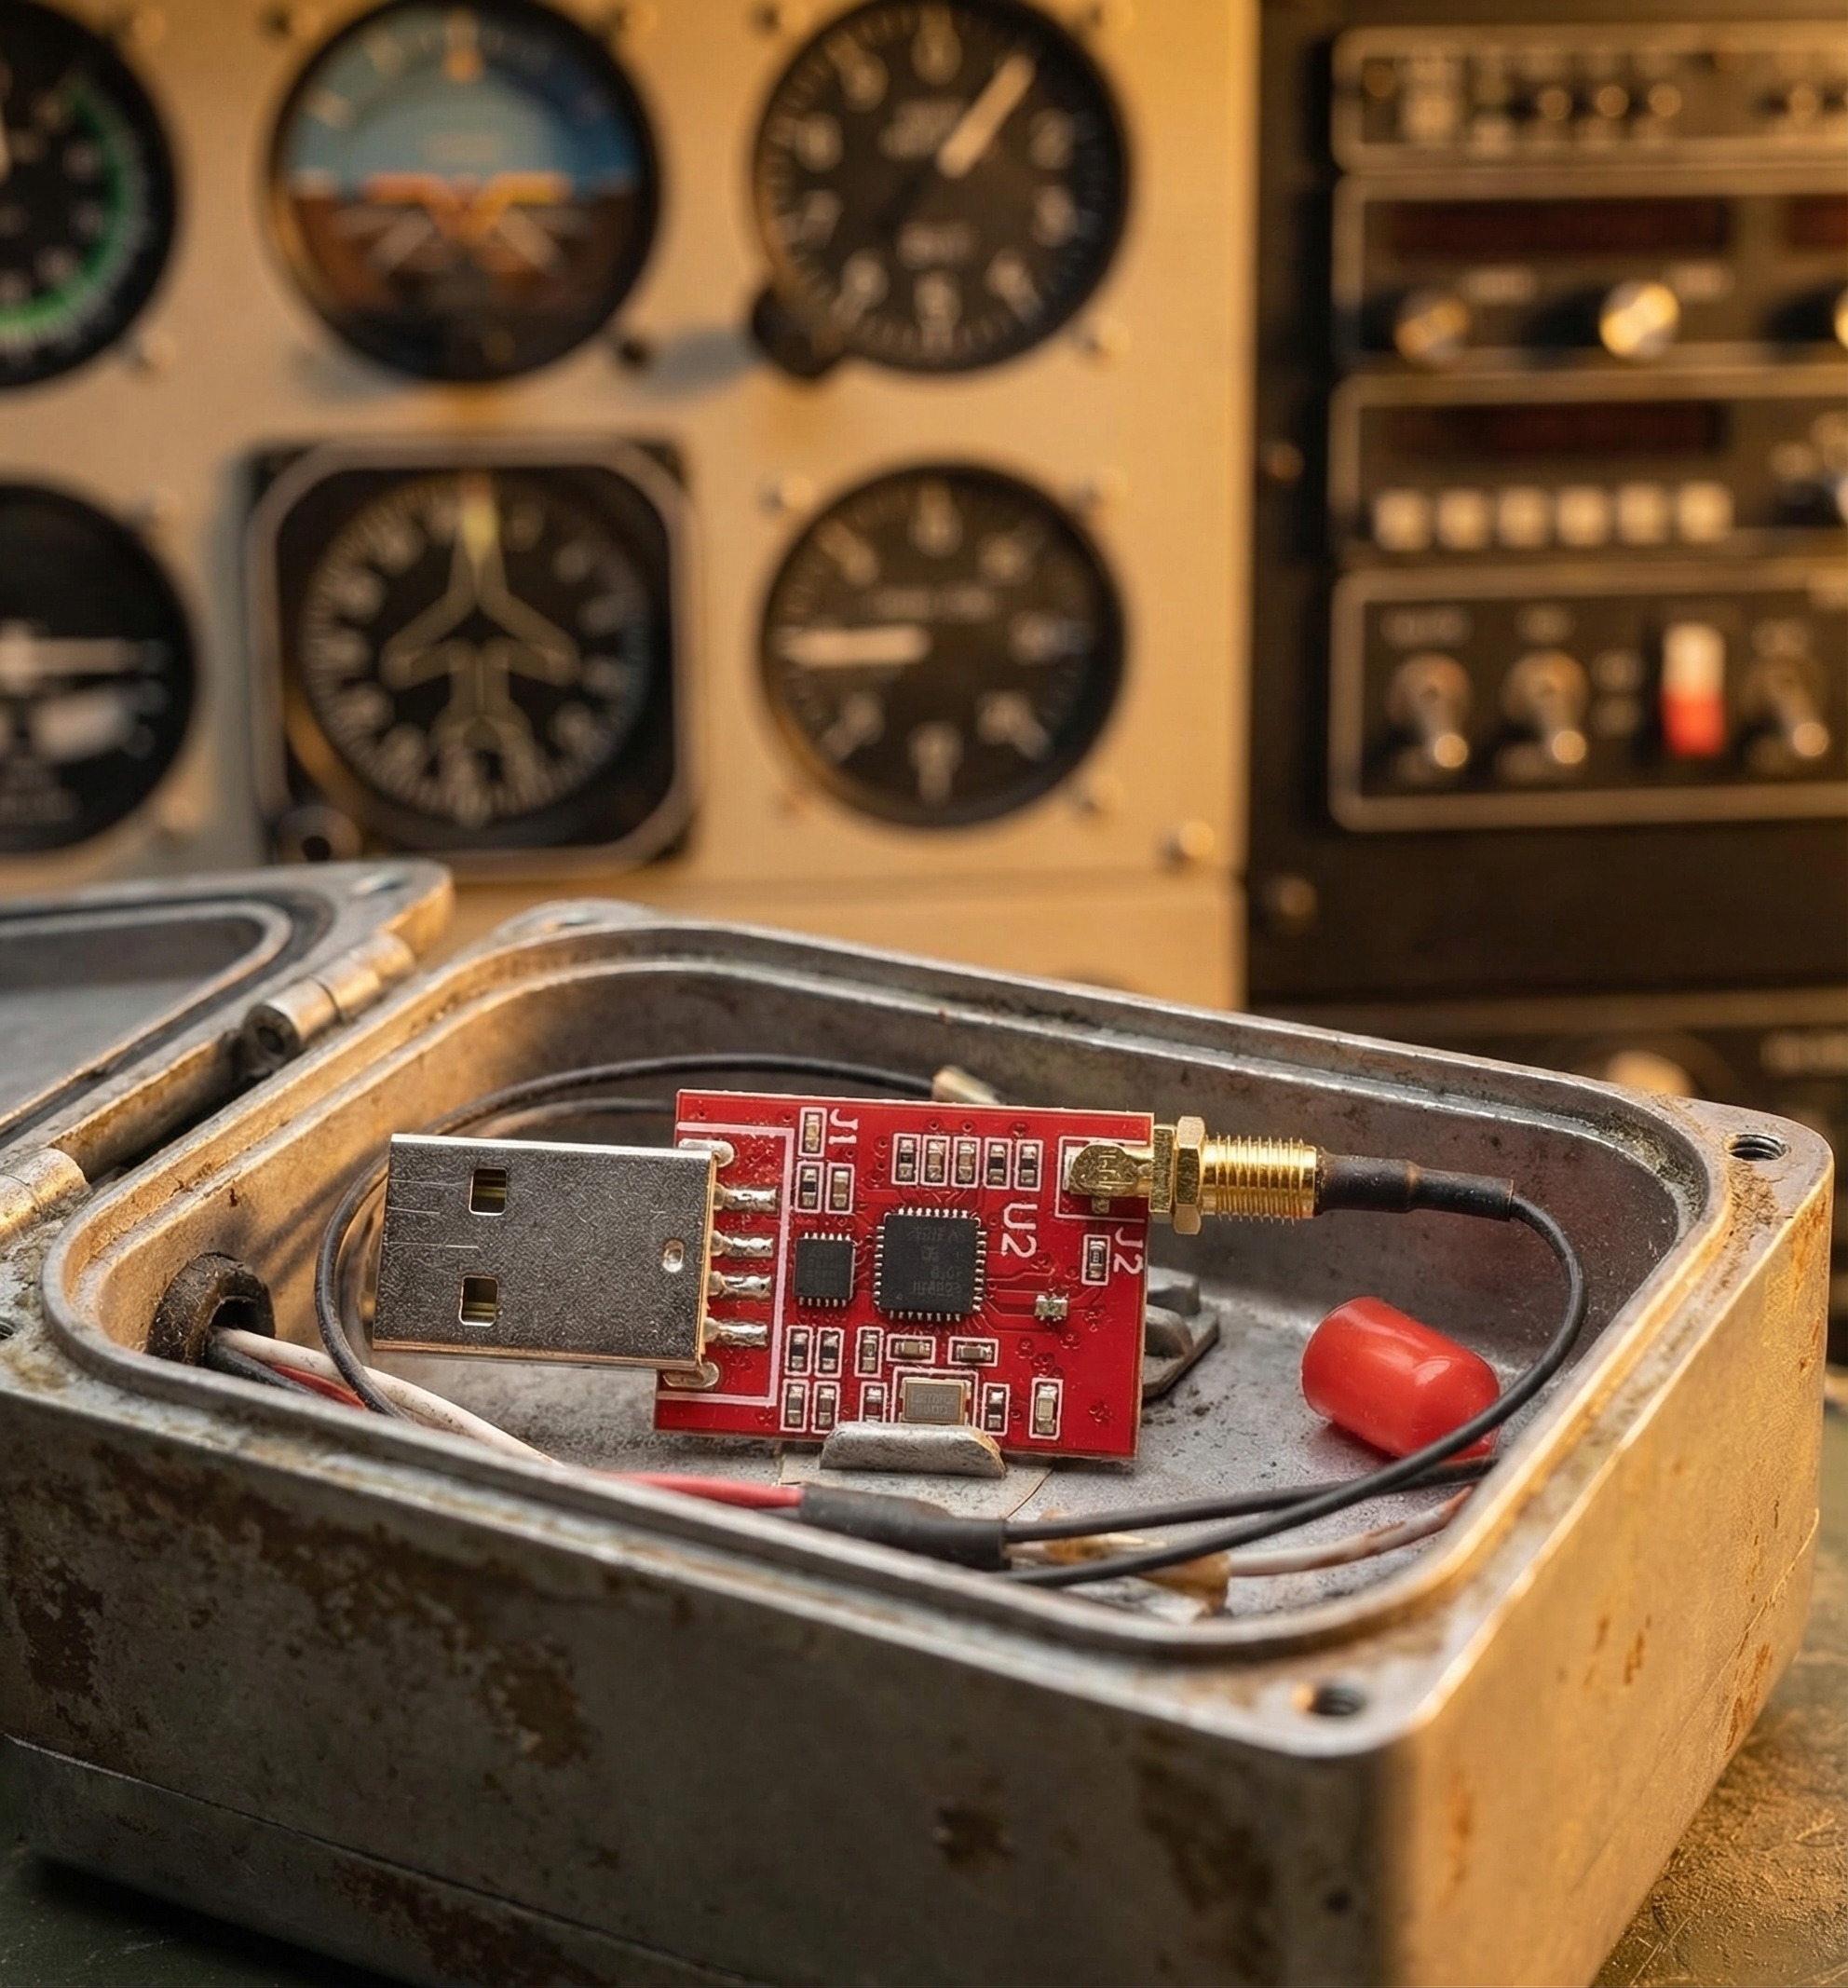
Plug-and-play USB, no drivers required
The VK-162 shows up as a standard USB serial device. Stratux detects it automatically on boot. There’s no configuration required, no driver installation, no firmware to flash. Plug it in, reboot, done.
This is actually a meaningful point. Some GPS modules require specific driver support or show up as ambiguous USB devices that need manual assignment. The VK-162 just works, which is what you want from a component you’re going to handle in the dark during preflight.
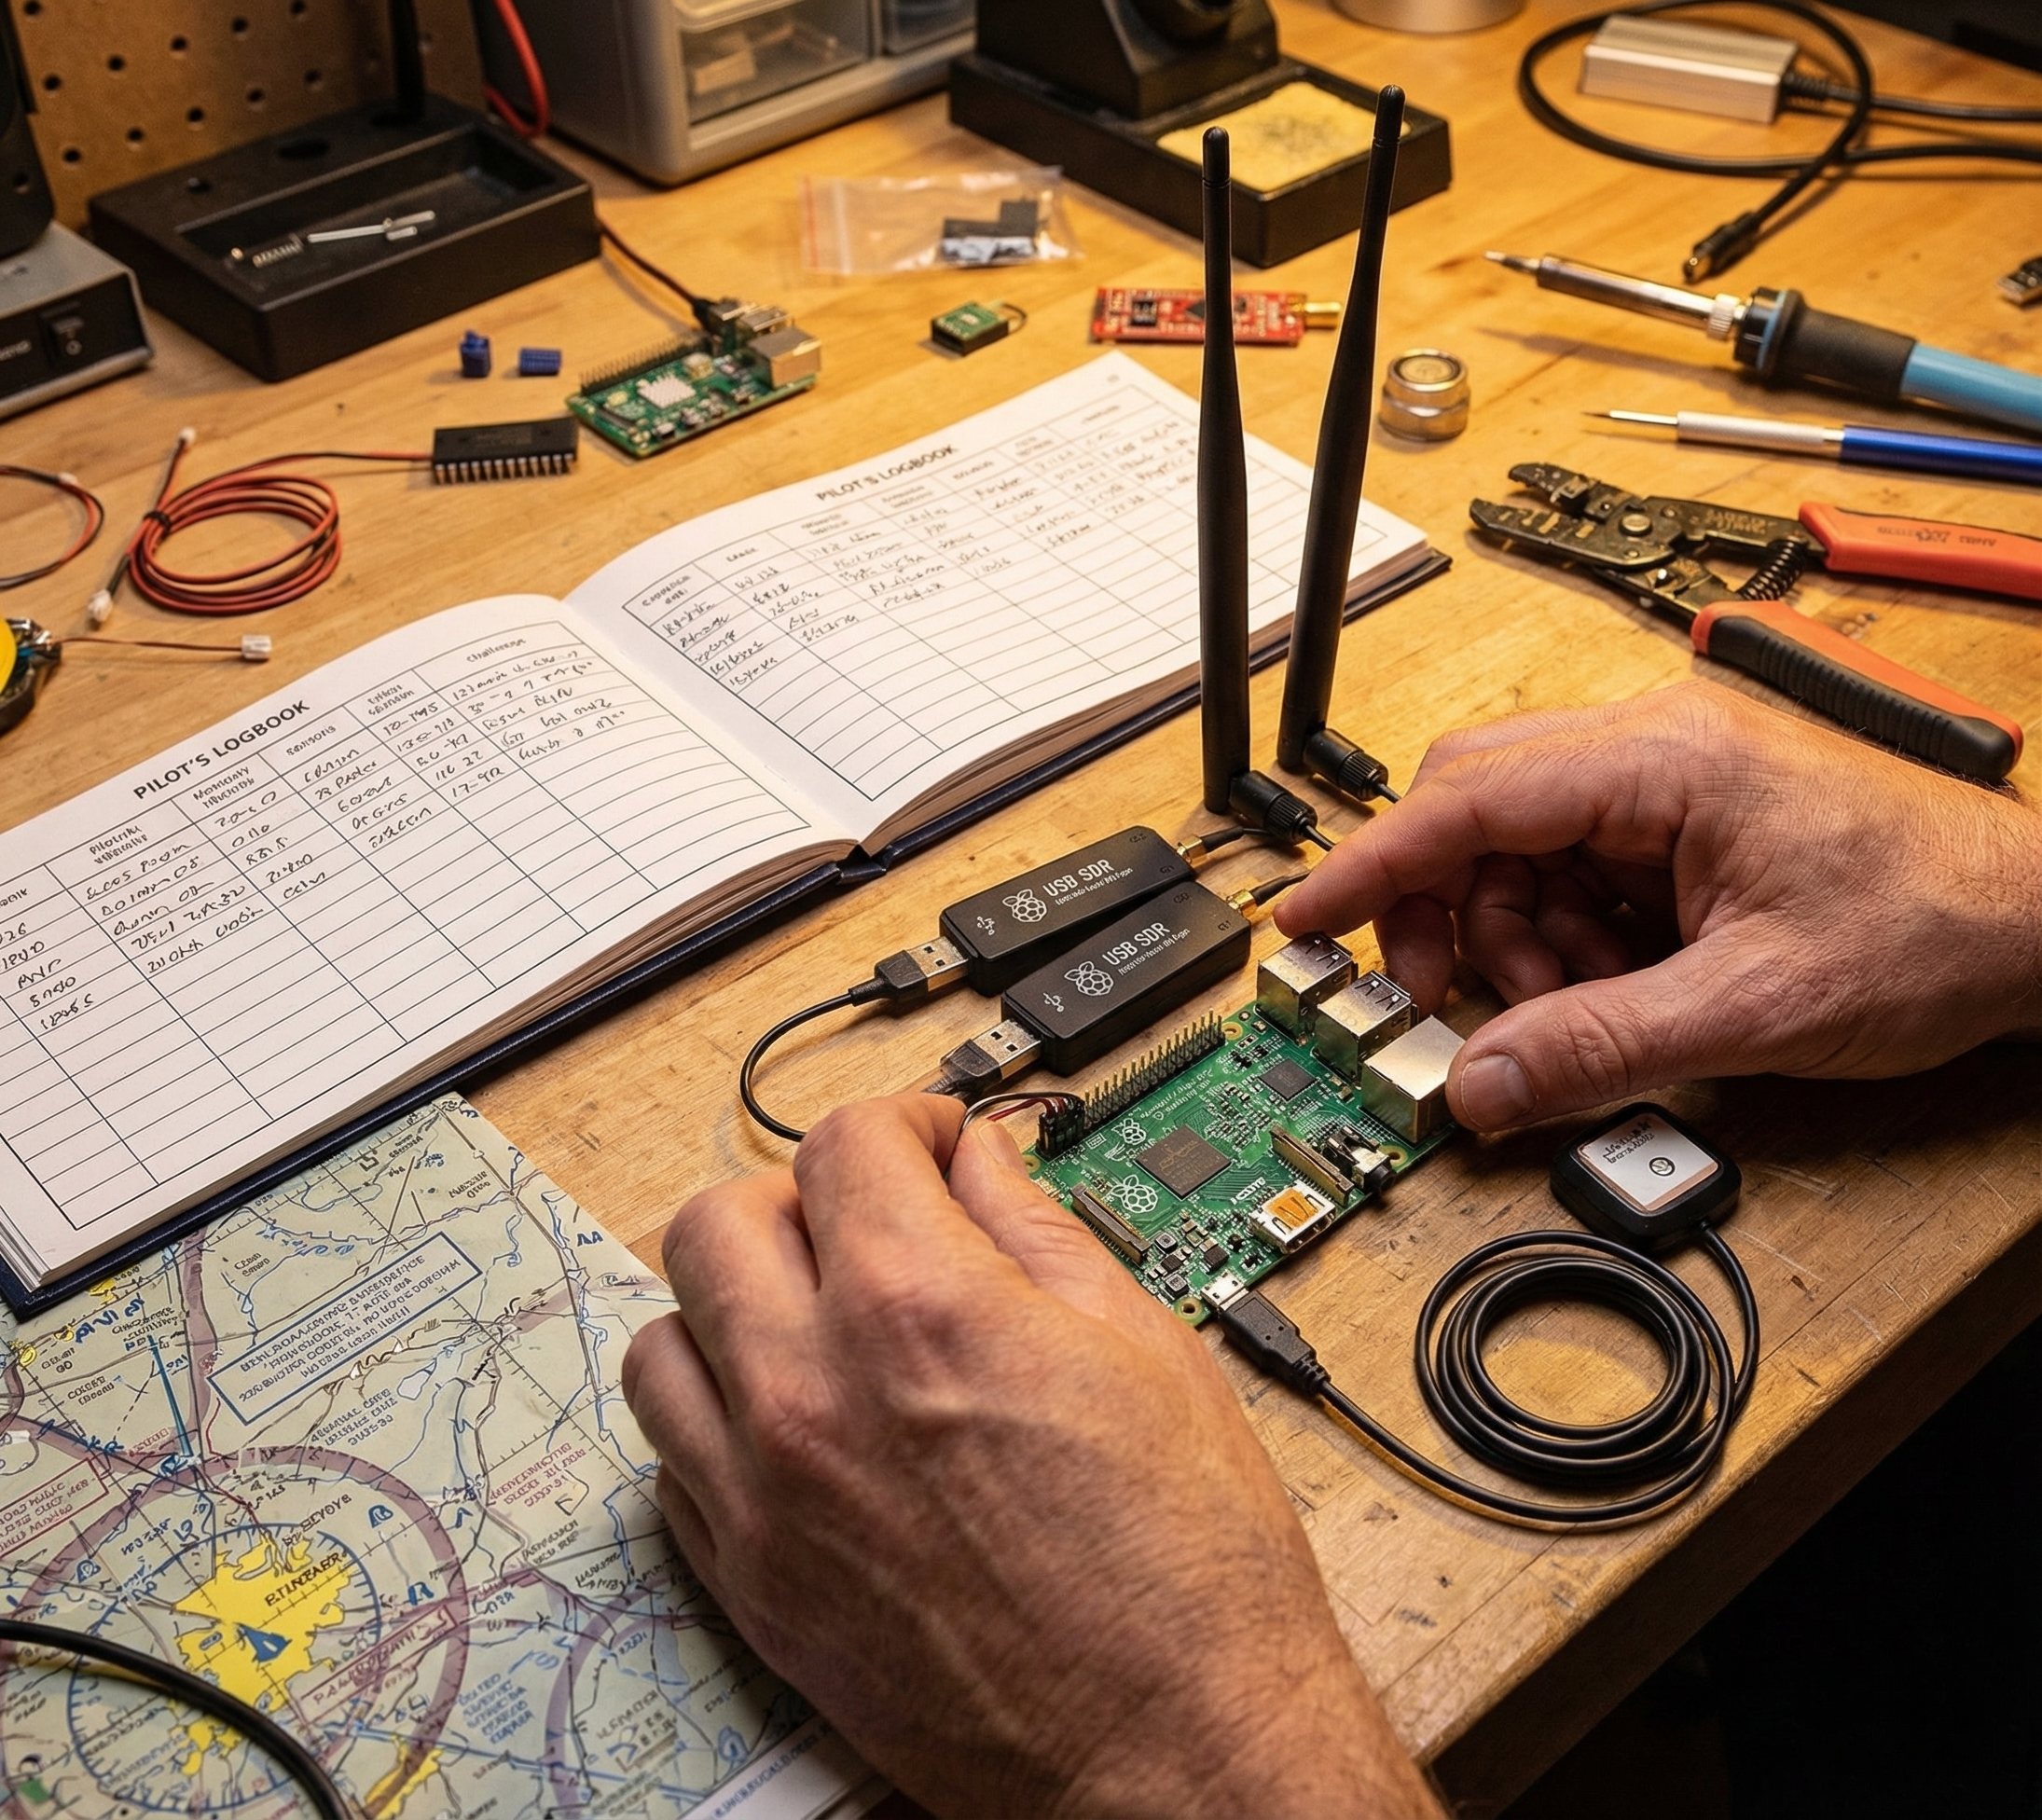
Setup: Plug In and Verify
Getting the external GPS running takes about five minutes:
- Power down your Stratux completely before plugging in the GPS.
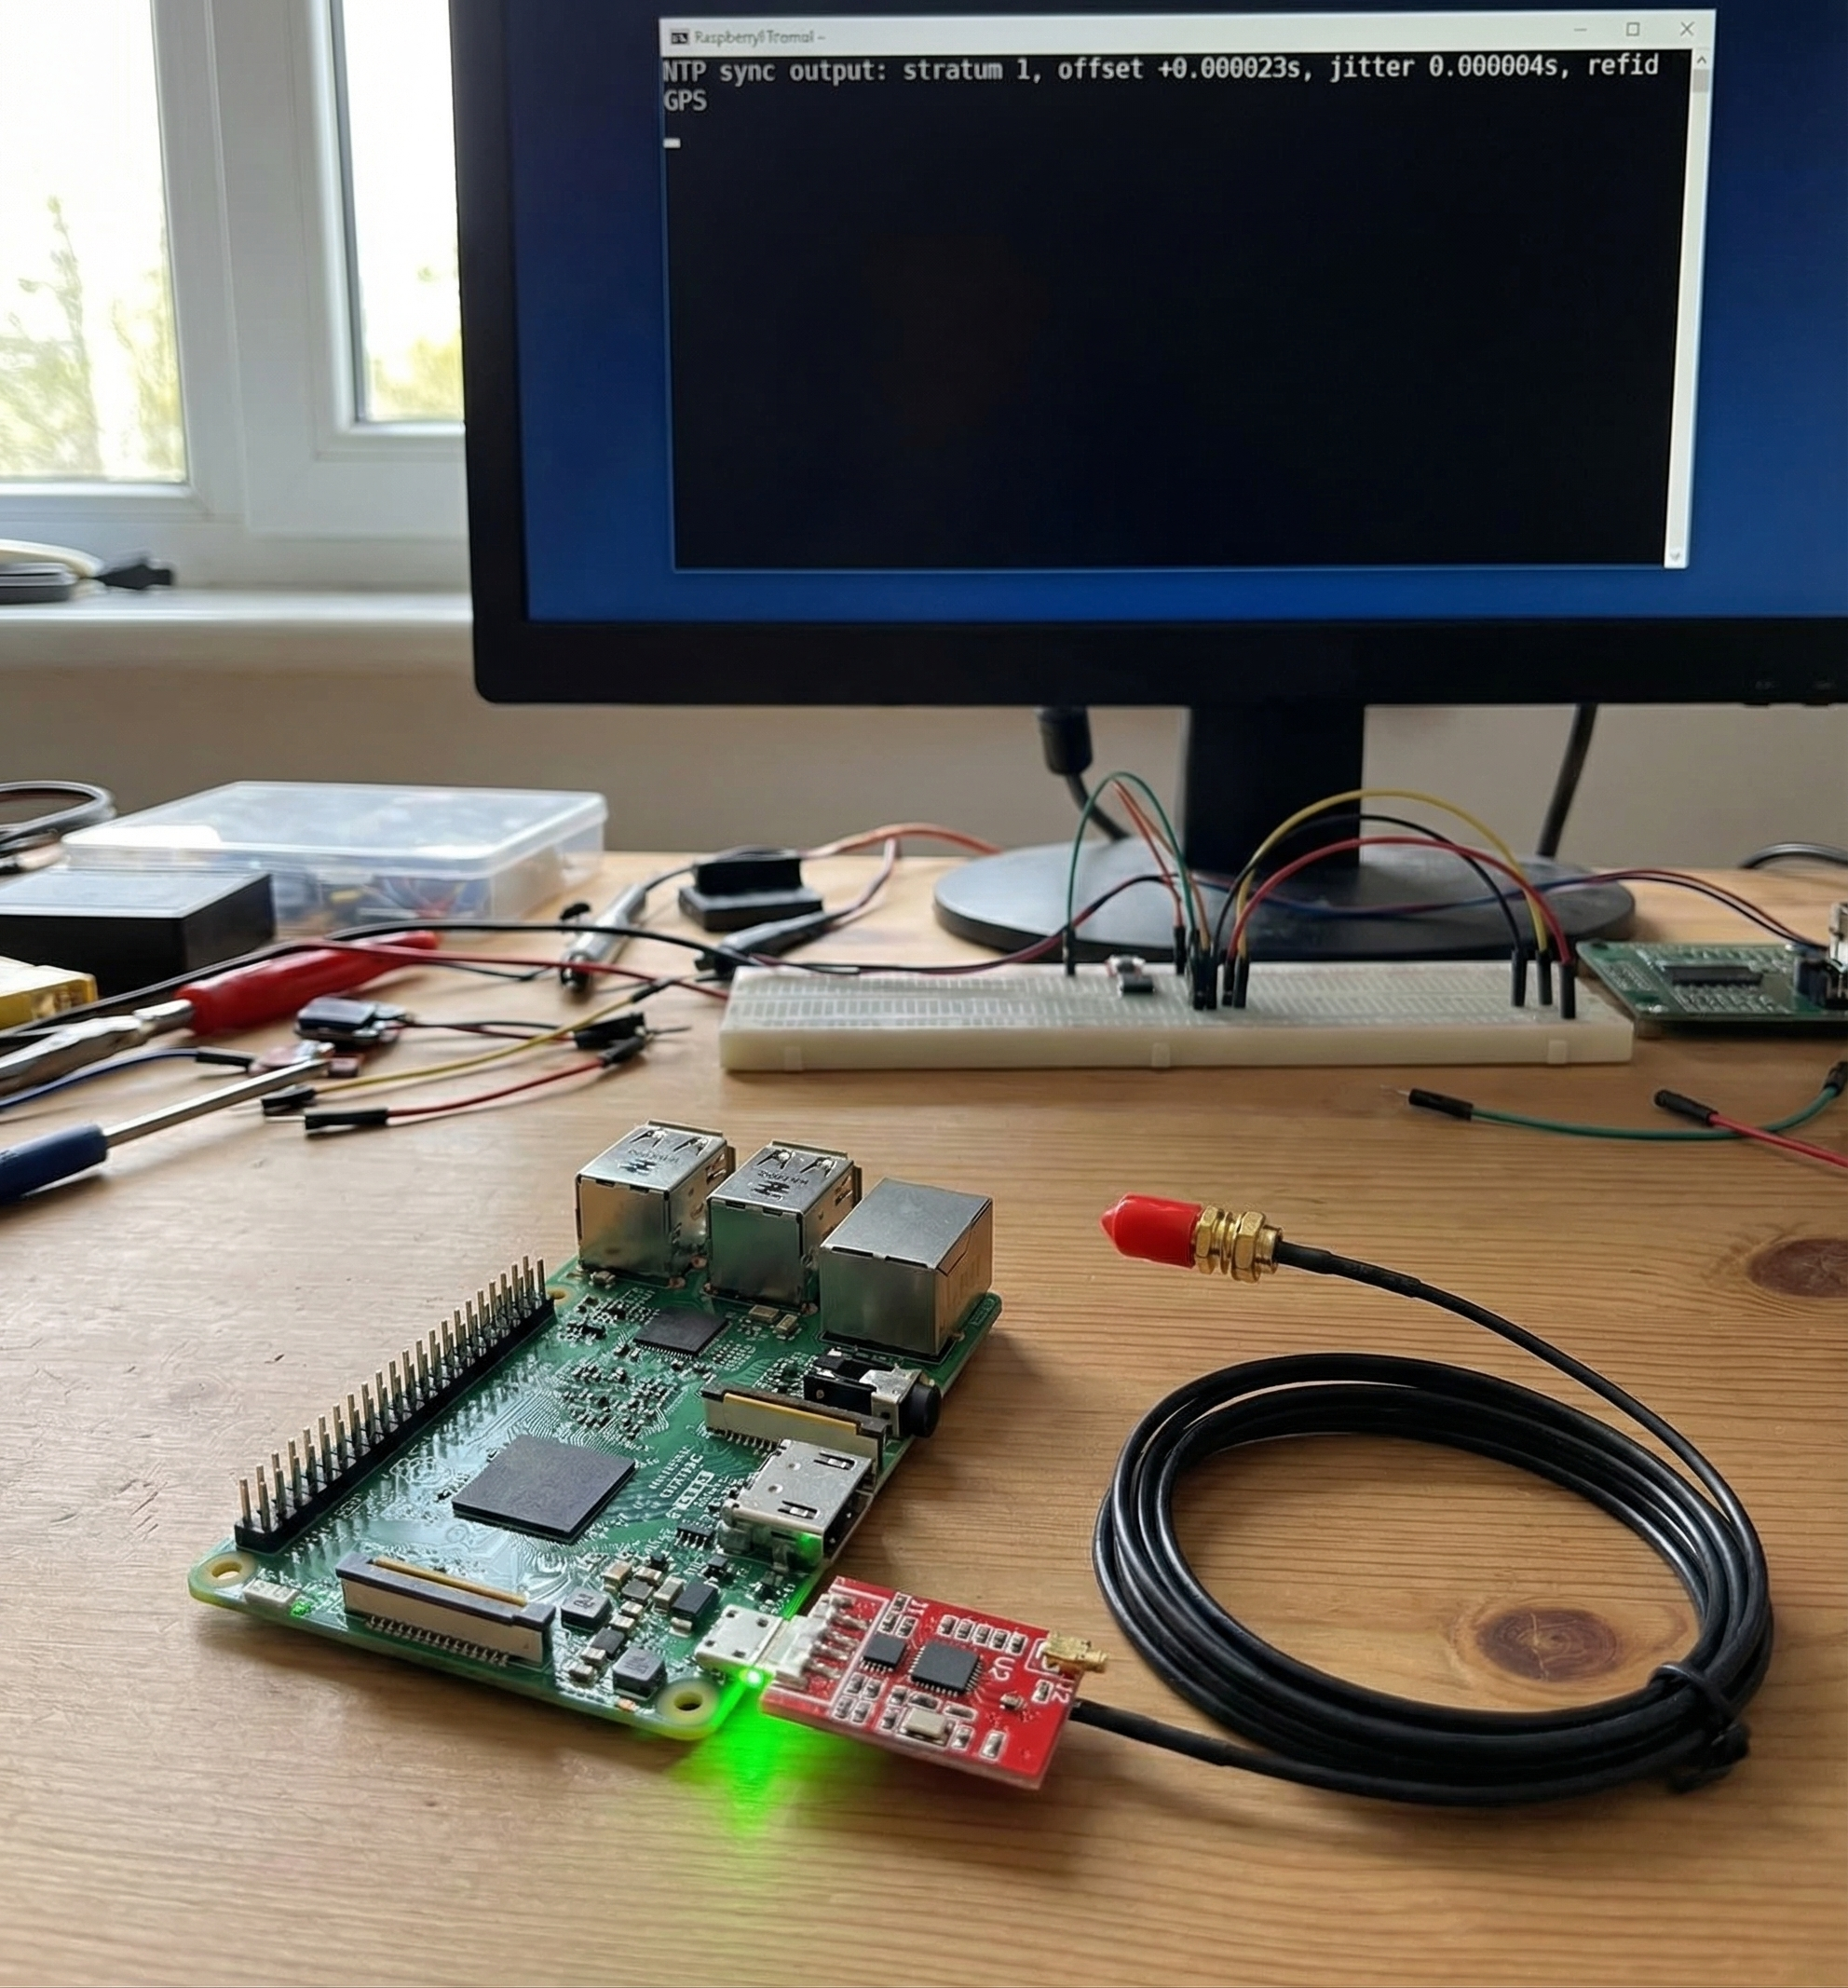
- Connect the VK-162 to one of the USB ports on your Raspberry Pi. Either port works.
- Power on the Stratux. The software detects the GPS module automatically during boot — no configuration needed.
- Connect to the Stratux web interface at 192.168.10.1 (join the Stratux WiFi network first) and navigate to the status page.
- Verify GPS lock — the status page shows GPS source, satellite count, and fix status. You should see the external GPS recognized and, within a few seconds of having sky view, acquiring a fix.
If you had an internal GPS previously configured, Stratux will automatically prefer the external GPS when both are connected. You don’t need to do anything special to switch between them.
Placement Tips: Where to Put the Puck
The puck is small — roughly the size of a thick quarter — and it has a USB cable attached. You’ve got flexibility on where it lives, but the guiding principle is always clear sky view.
Dashboard / Glare Shield
The most common location. Lay it flat with the dome facing up. Keep it away from anything metallic directly above it (overhead panel switches, metal window frames). Most aircraft dashboards give excellent sky view through the windscreen.
Side Window
If your windscreen view is blocked — maybe you’ve got a lot of overhead panel gear — a side window mount can work well. Suction cups or a small wedge mount keeps it in place.
Anywhere with clear overhead sky
The simple test: can you see the sky from where the puck is sitting? If yes, it’ll lock. The only locations to avoid are those with significant metal or structural obstruction directly overhead.
Cable routing
Run the USB cable in a way that keeps it out of your scan path and away from flight controls. A few small cable clips or a wrap around your yoke keeps it tidy. The cable is long enough for most panel configurations without extension.
Get the External GPS Puck
The VK-162 is in stock and ships fast. It’s the same GPS puck included in our external GPS pre-built units — proven hardware, verified compatible, no surprises.
Stratux External GPS (VK-162) — $19.99 →
Also available on Amazon: amzn.to/3KrEfq4
If slow GPS lock is the most annoying part of your preflight, this is the cheapest fix in aviation. Twenty dollars, five minutes of installation, and your cold start times drop by two-thirds. Not a bad trade.