
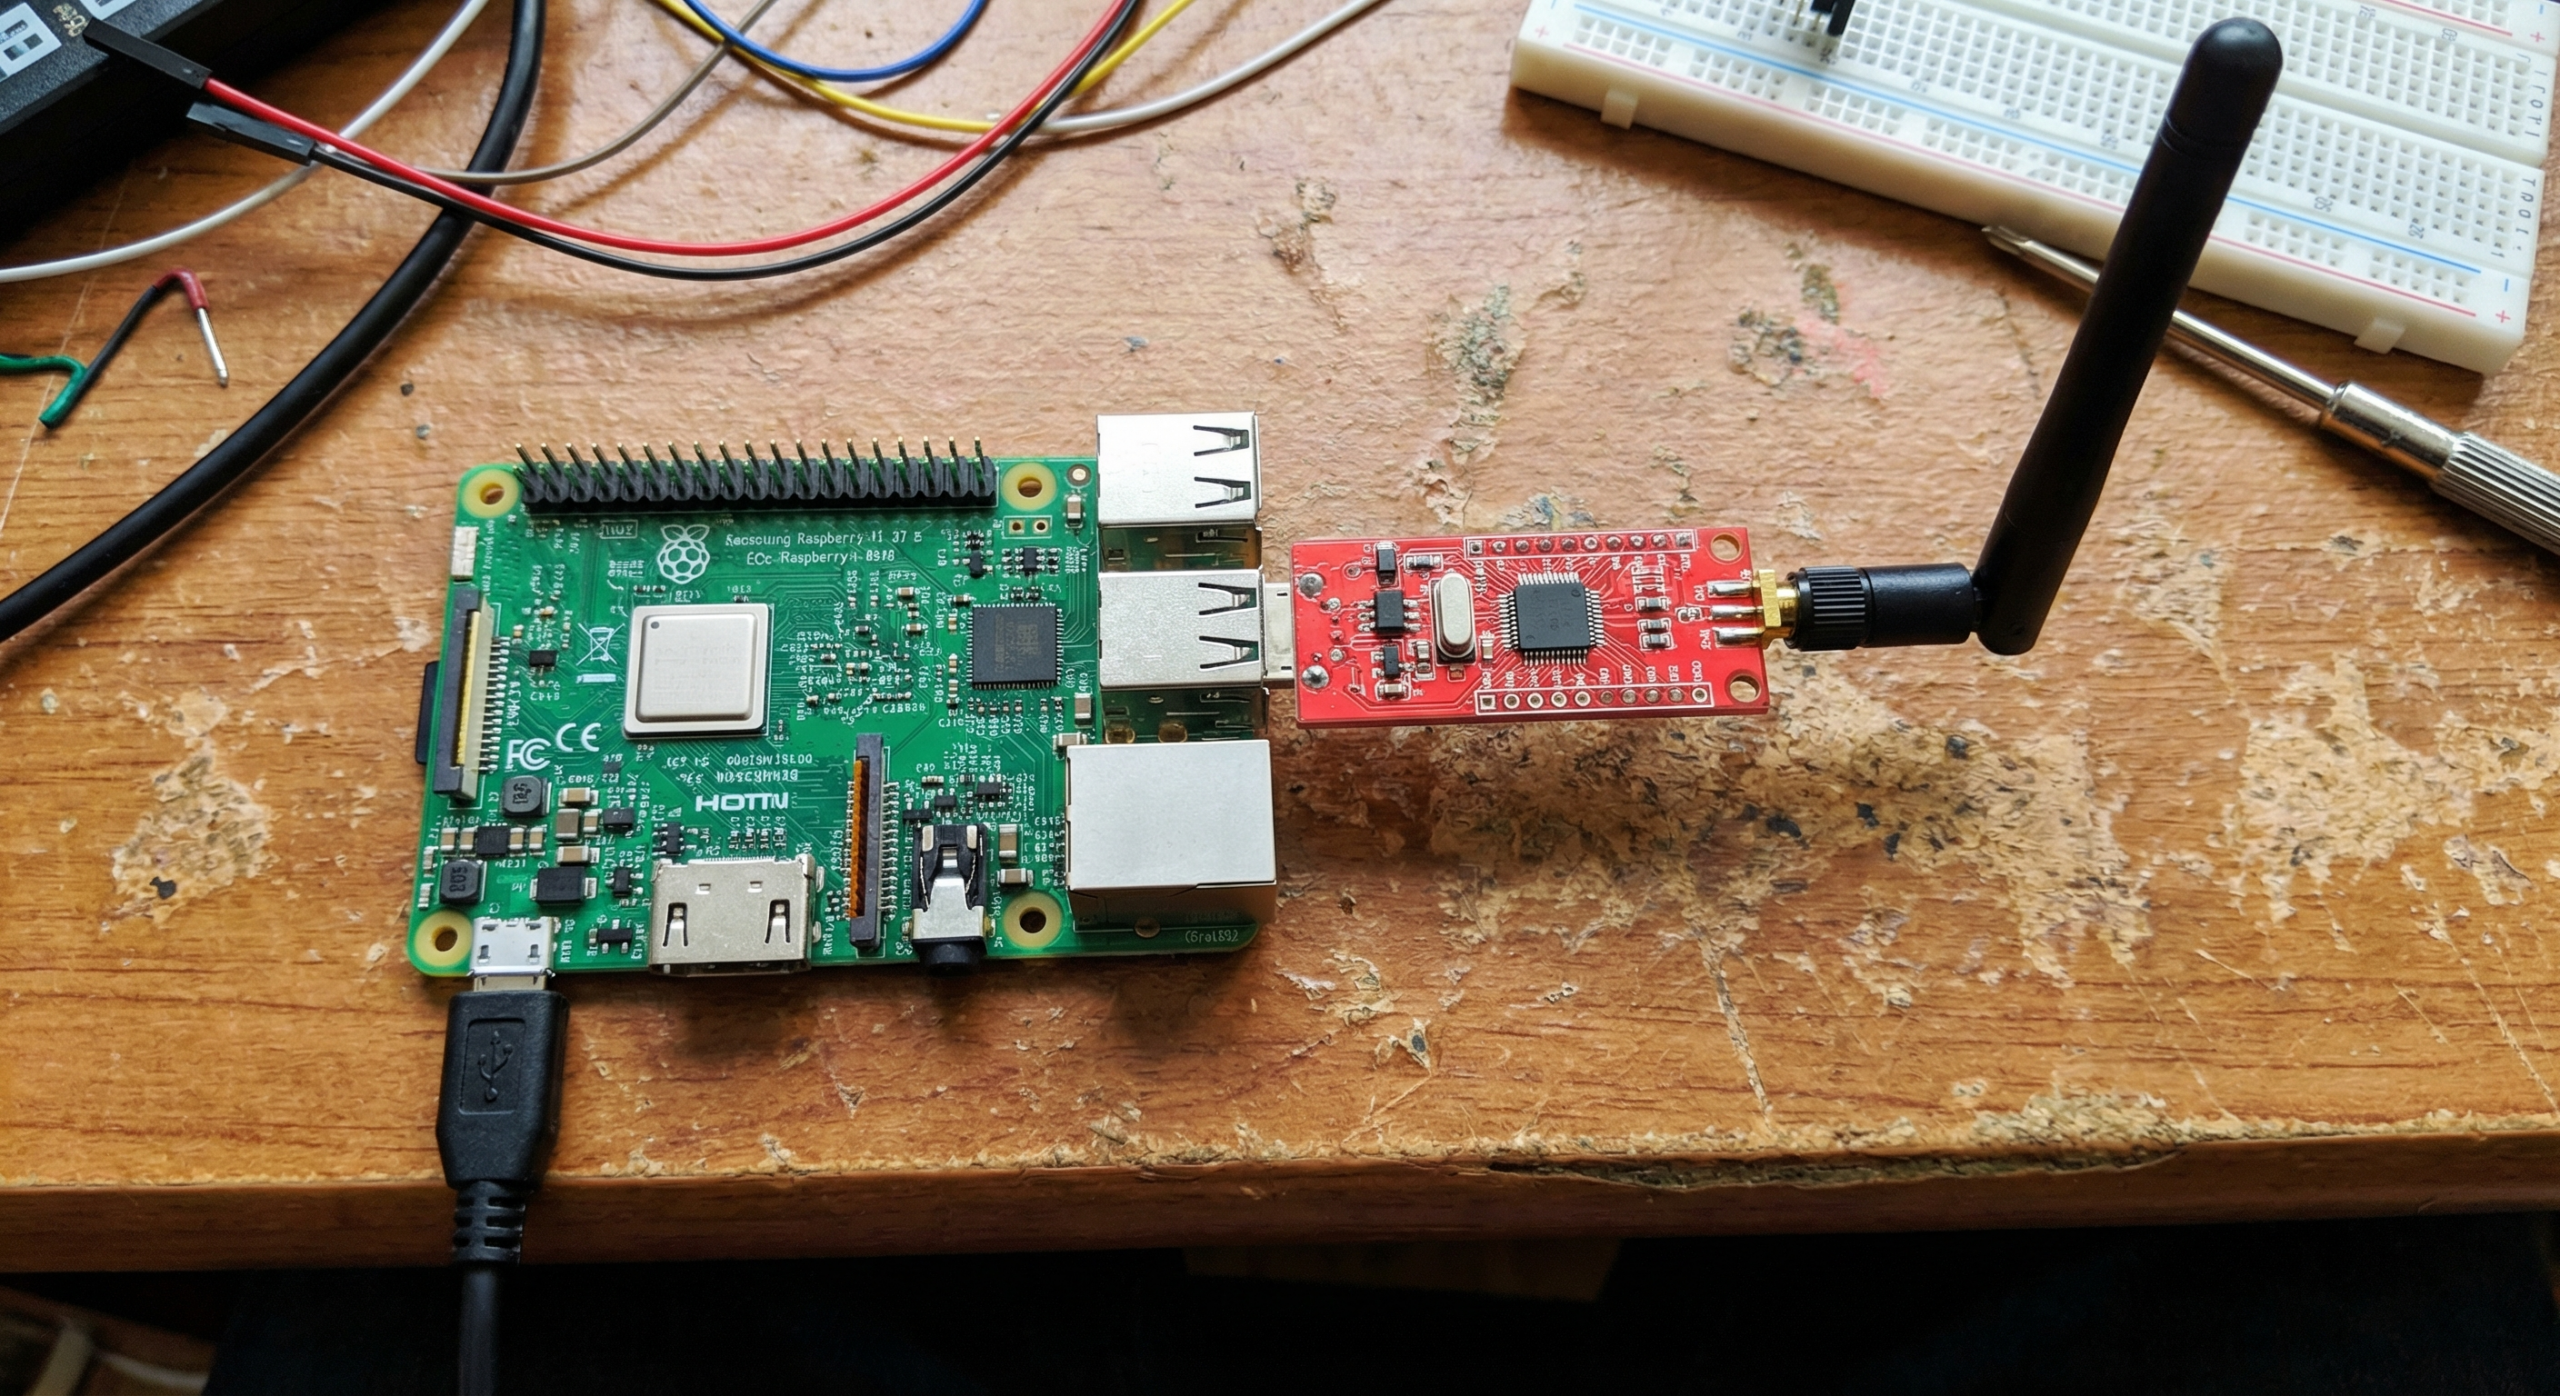
You can turn a $30 Raspberry Pi and a cheap RTL-SDR dongle into a
real-time flight tracking station that feeds live aircraft data to
FlightAware and FlightRadar24. The hardware is cheap, the setup takes
under an hour, and once it’s running you’ve got a 24/7 feeder that
contributes to the global tracking network.
Shortcut: We sell a PiAware 8.2 pre-loaded Micro SD card — plug it in and skip the software install.
Most PiAware Raspberry Pi setup guides skip one detail: the
timestamps your feeder sends matter. ADS-B uses time-of-arrival data to
figure out where aircraft are — multiple feeders triangulate aircraft
positions based on when they each received the same signal. If your
system clock drifts, your timestamps drift, and your contribution to the
network gets less accurate.
The fix is a $15 USB GPS dongle. Plug in a VK-162, wire it into
gpsd and chrony, and your system clock is
GPS-disciplined to within a millisecond. Your feeder data gets better,
and you’ve got a more interesting build than “Raspberry Pi + SDR.”
Here’s the full setup.
What You’ll Need
| Item | Notes |
|---|---|
| Raspberry Pi 3B (recommended) | Pi 3B+ also works |
| RTL-SDR Blog v4 dongle | RTL2832U chipset, the standard for 1090 MHz |
| 1090 MHz ADS-B antenna | The single most range-critical component |
| VK-162 USB GPS dongle | For GPS-disciplined timing (optional but worth it) |
| MicroSD card (16GB+) | Pi OS Lite |
| Power supply | Official Pi 3B PSU (5V/2.5A) |
The antenna matters more than most people expect. A good antenna on a
bad location still beats a great antenna in a drawer. We’ll cover
placement later.
Step 1: Flash
Raspberry Pi OS and Install PiAware
Flash Raspberry Pi OS Lite (64-bit) to your microSD
using Raspberry Pi Imager. Enable SSH in the imager’s advanced settings
— you’ll want headless access.
Once the Pi is booted and SSH’d in, install PiAware from
FlightAware’s official apt repository:
curl https://flightaware.com/adsb/piaware/files/packages/pool/piaware/p/piaware-support/piaware-repository_10.0_all.deb \
  -o /tmp/piaware-repo.deb
sudo dpkg -i /tmp/piaware-repo.deb
sudo apt update
sudo apt install piaware
Register your feeder on FlightAware’s site to get your feeder ID,
then configure it:
sudo piaware-config feeder-id YOUR_FEEDER_ID
sudo piaware-config allow-auto-updates yes
sudo systemctl enable piaware
sudo systemctl start piaware
For FlightRadar24, the process is similar — download
fr24feed from FlightRadar24’s site and run
sudo fr24feed --signup to walk through the configuration
wizard. Both can run simultaneously on the same Pi and point to the same
RTL-SDR.
Step 2: Install
dump1090 for 1090 MHz Reception
PiAware works with dump1090-fa (FlightAware’s fork),
which installs automatically as a dependency. Your RTL-SDR should be
picked up automatically — verify it’s detected:
rtl_test -tYou should see your dongle listed. If you get a permissions error,
add your user to the plugdev group:
sudo usermod -aG plugdev $USERAt this point, PiAware is running and feeding data. Check your
FlightAware stats page (flightaware.com/adsb/stats/user) —
you should see aircraft counts within a few minutes of going live.
Typical range with an indoor antenna near a window: 50–150nm. With an
outdoor antenna, 150–250nm.
Step 3: Add
GPS-Disciplined Timing with the VK-162
This is the step most PiAware guides skip. Here’s why it matters, and
how to add it in about 10 minutes.
Install gpsd and chrony:
sudo apt install gpsd gpsd-clients chronyConfigure gpsd to use the VK-162 (which shows up as
/dev/ttyACM0):
sudo nano /etc/default/gpsdSet:
DEVICES="/dev/ttyACM0"
GPSD_OPTIONS="-n"
START_DAEMON="true"
USBAUTO="true"
Add a GPS refclock to chrony’s config:
sudo nano /etc/chrony/chrony.confAdd these lines (above the existing pool lines):
refclock SHM 0 offset 0.5 delay 0.2 refid GPS
refclock SHM 2 offset 0.0 refid PPS prefer
Restart both services:
sudo systemctl restart gpsd chronyVerify the GPS has a fix:
cgps -sVerify chrony is using GPS as its time source:
chronyc trackingYou should see GPS listed as the reference source with
offset in the single-digit milliseconds. Your feeder timestamps are now
GPS-accurate.
Full gpsd + chrony walkthrough: If you want more
depth on this setup — including PPS pulse-per-second for sub-millisecond
accuracy — see our Stratum
1 NTP Server guide. It covers the same VK-162 stack in more
detail.Already running an APRS tracker? If you set up VK-162
+ gpsd for APRS on Raspberry Pi, your GPS timing stack is already
configured. PiAware just rides on top of it.
Antenna Placement
The antenna is the most important part of this build and the one
people underestimate most. A few rules:
- Outside or near a window beats inside, always. Even
a thin window pane costs range. - Higher is better. Roof mounts or attic installs can
cover a 200nm radius in flat terrain. - Cable length kills range. Every extra meter of coax
costs you signal. Keep the antenna close to the Pi, not the other way
around. - Lightning protection. If you’re mounting outdoors,
a simple coax arrestor on the cable run is worth the $10.
If you’re starting indoors, try a few spots before committing —
you’ll notice significant range differences between window
placements.
Verify Your Feeder Is
Contributing
Once everything is running, check:
- FlightAware:
flightaware.com/adsb/stats/user— shows your aircraft
count, range map, uptime - FlightRadar24: Your fr24feed status page shows
coverage in real time - PiAware log:
sudo systemctl status piawarefor connection status
Typical results with a decent outdoor antenna: 150–250nm coverage,
100–400 aircraft during peak hours depending on your location. Urban
areas see higher counts; rural installs see more range.
Parts List (with Links)
All the hardware for this build is available in the Stratux
Store on Amazon:
- VK-162 USB GPS dongle — GPS-disciplined timing for
your feeder - RTL-SDR Blog v4 — the standard for 1090 MHz ADS-B reception
- MicroSD cards, Raspberry Pi accessories
The full build (Pi not included) runs well under $75, and most of the
hardware is reusable across other projects — the same VK-162 works for
NTP timing, APRS, vehicle GPS logging, and now ADS-B feeding.
Questions? Drop them in the comments — we read and answer all of
them.